TL;DR -> .NET 8 language support is now available for MonoGame and opening up a whole new world of goodness and speed for games.

*Note, the information contained below is for those developers who want access to the cutting edge, as it requires access to the development source. (with the exception of upgrading your game to .NET 8)
The full release of the .NET 8 MonoGame support will be included with the 3.9 release, coming soon.
MonoGame may have seemed stagnant or unmoving in the past, mainly because of the rigors of a group of developers working unpaid on the development of an OpenSource framework, meaning the focus had to be on what enabled the developers to make money in their own projects based on MonoGame. But thanks to recent investments by ReLogic and our awesome MonoGame community, the MonoGame Foundation was born and more significant investments could be made.
Granted, the MonoGame Foundation board (the majority of the core developers) are still NOT getting paid, but there is a renewed focus and understanding of what is needed to make MonoGame (and its predecessor XNA) great again. (not to say it has not always been great, of course)
So on to today’s news (a few weeks late), that one of the first items brought up at the MonoGame Foundation board meetings has now been completed, the upgrade from .NET 6 to .NET 8 for the public version of MonoGame. You can read the nitty-gritty of the change here in the PR for the update, and this article will help explain the rest.
It may also be interesting to note, that the work was NOT done by a Foundation Board member, but by one of the MonoGame community, none other than Aristurtle. Make sure to give them a virtual clap on the back when you see them on Discord!!
- What will .NET 8 do for MonoGame
- Actually, you can build .NET 8 already
- Accessing the Developer version of the MonoGame packages
- Getting access to the .NET 8 developer version of MonoGame with Visual Studio
- Getting access to the .NET 8 developer version of MonoGame with Visual Studio Code
- Do not forget about the tools!
What will .NET 8 do for MonoGame
Initially, not much. Apart from inheriting .NET 8’s inherent speed upgrades and compilation updates, nothing has really changed. Stuff you get for free for being on the latest version of .NET is just that, free stuff.
Of note, one developer noticed a 1.5x performance boost by simply upgrading to .NET 8, everything ran smooth without any tricks or fixes. Just by changing a number!
Simply stating:
The .NET 8 upgrade of MonoGame was really worth it, it is a good release.
What this does enable however, is for MonoGame to start utilizing some of the additional features enabled with the latest and greatest .NET framework, namely:
- Improved Serialization. with even more control over serialization configuration.
- Stream-based ZipFile methods.
- Even more methods for working with randomness.
While it will take time to fully realize some of these benefits in the core part of the MonoGame library, initially providing advantages in the Content Pipeline and the writing of some really cool Content Pipeline extensions, which are a fantastic way to fully empower your content in any MonoGame project.
But you are now free to fully utilize any and all improvements from the .NET 8 SDK without limitation (other than making sure it works on your intended platform).
One small Caveat to the announcement is that the .NET upgrade is ONLY for the public version of MonoGame. For consoles and other private areas (due to the licensing enforced by partners), the team is working hard in this release to get those updated, but that will come later.
Actually, you can build .NET 8 already
Now, one misnomer to get over at this point, is that you can TODAY, with the release version of MonoGame, actually build a .NET 8 executable for your game, and in that, use .NET 8 features in your project. But the MonoGame Libraries are still .NET 6 and limited to the .NET 6 instruction set, so any functionality you write can only be enhanced in your code and not the base of the MonoGame Framework.
You still get some of the performance gains in your .NET project for the code you write in your game so it is worth doing!
Accessing the Developer version of the MonoGame packages
The developer versions of the MonoGame packages are currently published on GitHub using GitHub’s own NuGet packaging service, which can be found at https://github.com/orgs/MonoGame/packages
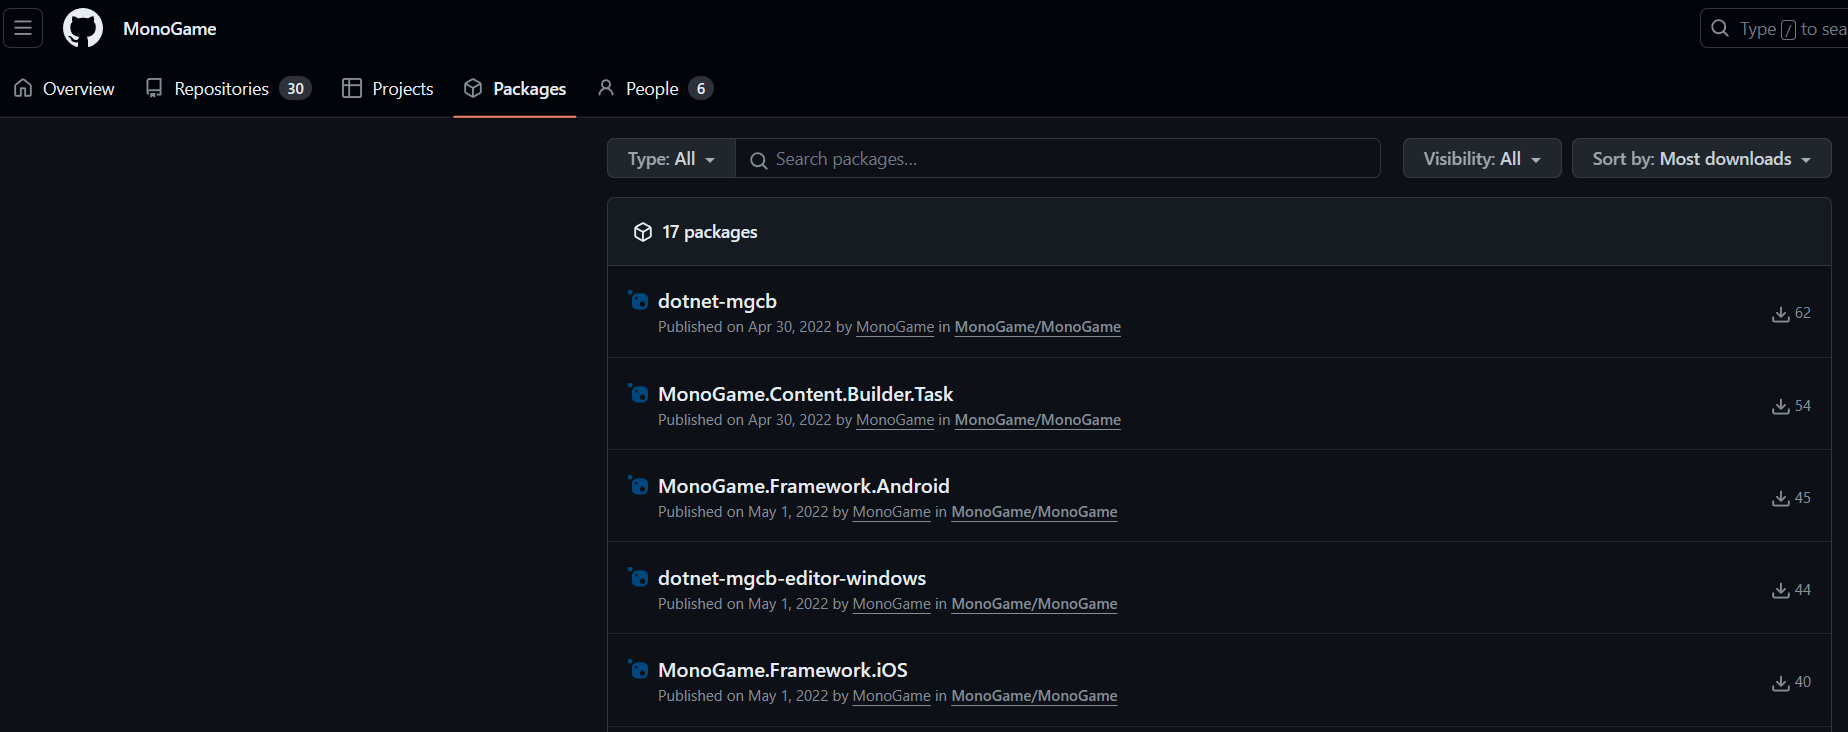
You can download each package from here manually if you wish, but it is better to do it directly in your project, to do this however, you will also need a Personal Access Token for your client to successfully authenticate with GitHub to access the packages.
Although the packages are public, like the official NuGet servers, they are actually held behind GitHub’s authentication which needs a user account to access.
To authenticate, you need:
- Your GitHub username (or email).
- A Personal Access Token with at least READ access to GitHub Packages.
To create a Personal Access token, simply:
- Visit the GitHub website, logged in of course.
- Click on your Profile Picture in the top-right-hand corner of the screen and select “Settings”.
- In the menu on the left, scroll to the bottom and select < > Developer Settings.
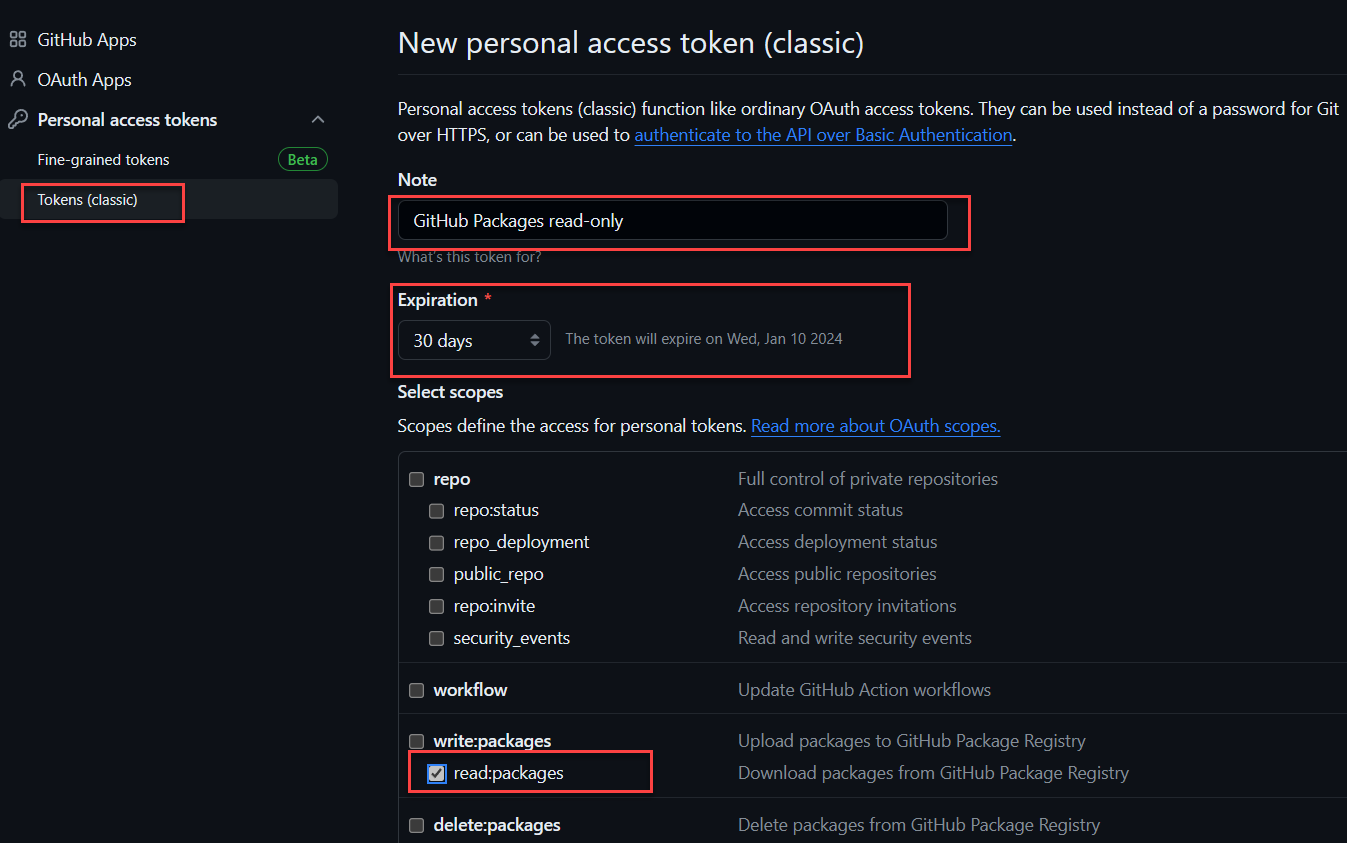
- Expand the drop-down for Personal access tokens and select Tokens (classic).
-
Click on the Generate new token button, select Generate new token (classic)
GitHub Packages only support authentication using a personal access token (classic). For more information, see “Managing your personal access tokens.”
-
As shown above, give the token a recognizable name, select the
read:packages scope
(which only allows this token to read packages, nothing else) and finally set the expiration date. (For read tokens like this, I usually set the expiration to “Never expire”, although GitHub will warn you if you do)
- When done, scroll to the bottom of the page and click Generate Token
- Finally, on the next screen, GitHub will show your new key in a highlighted row in the Token list, now VERY IMPORTANT, copy your key from here and save it somewhere securely as GitHub will NEVER show you this key again. The only way to access the key again is to regenerate it by editing the Key and requesting a new one.
Your key will need to be regenerated if:
- You forget it, basically get a new one and update wherever you used it, for authentication, GitHub actions or wherever.
- The key expires and you need a fresh one.
GitHub will NEVER ask you for a key and will not send you an email requesting it, so NEVER share it and NEVER publish it to a GitHub repo (even private ones). Only use secrets online.
Now armed with your key, you can use this as your password for authenticating with GitHub to access packages stored on GitHub for repositories your account can access.
Getting access to the .NET 8 developer version of MonoGame with Visual Studio

Starting with Visual Studio, as it is the simplest to do, upgrading MonoGame to .NET 8 is as simple as adding access to the GitHub NuGet package source and updating your packages.
- Open your MonoGame project up in Visual Studio
-
Right-click and select properties on your Project File (not Solution file), then change the Target Framework to .NET 8.0, as shown below:
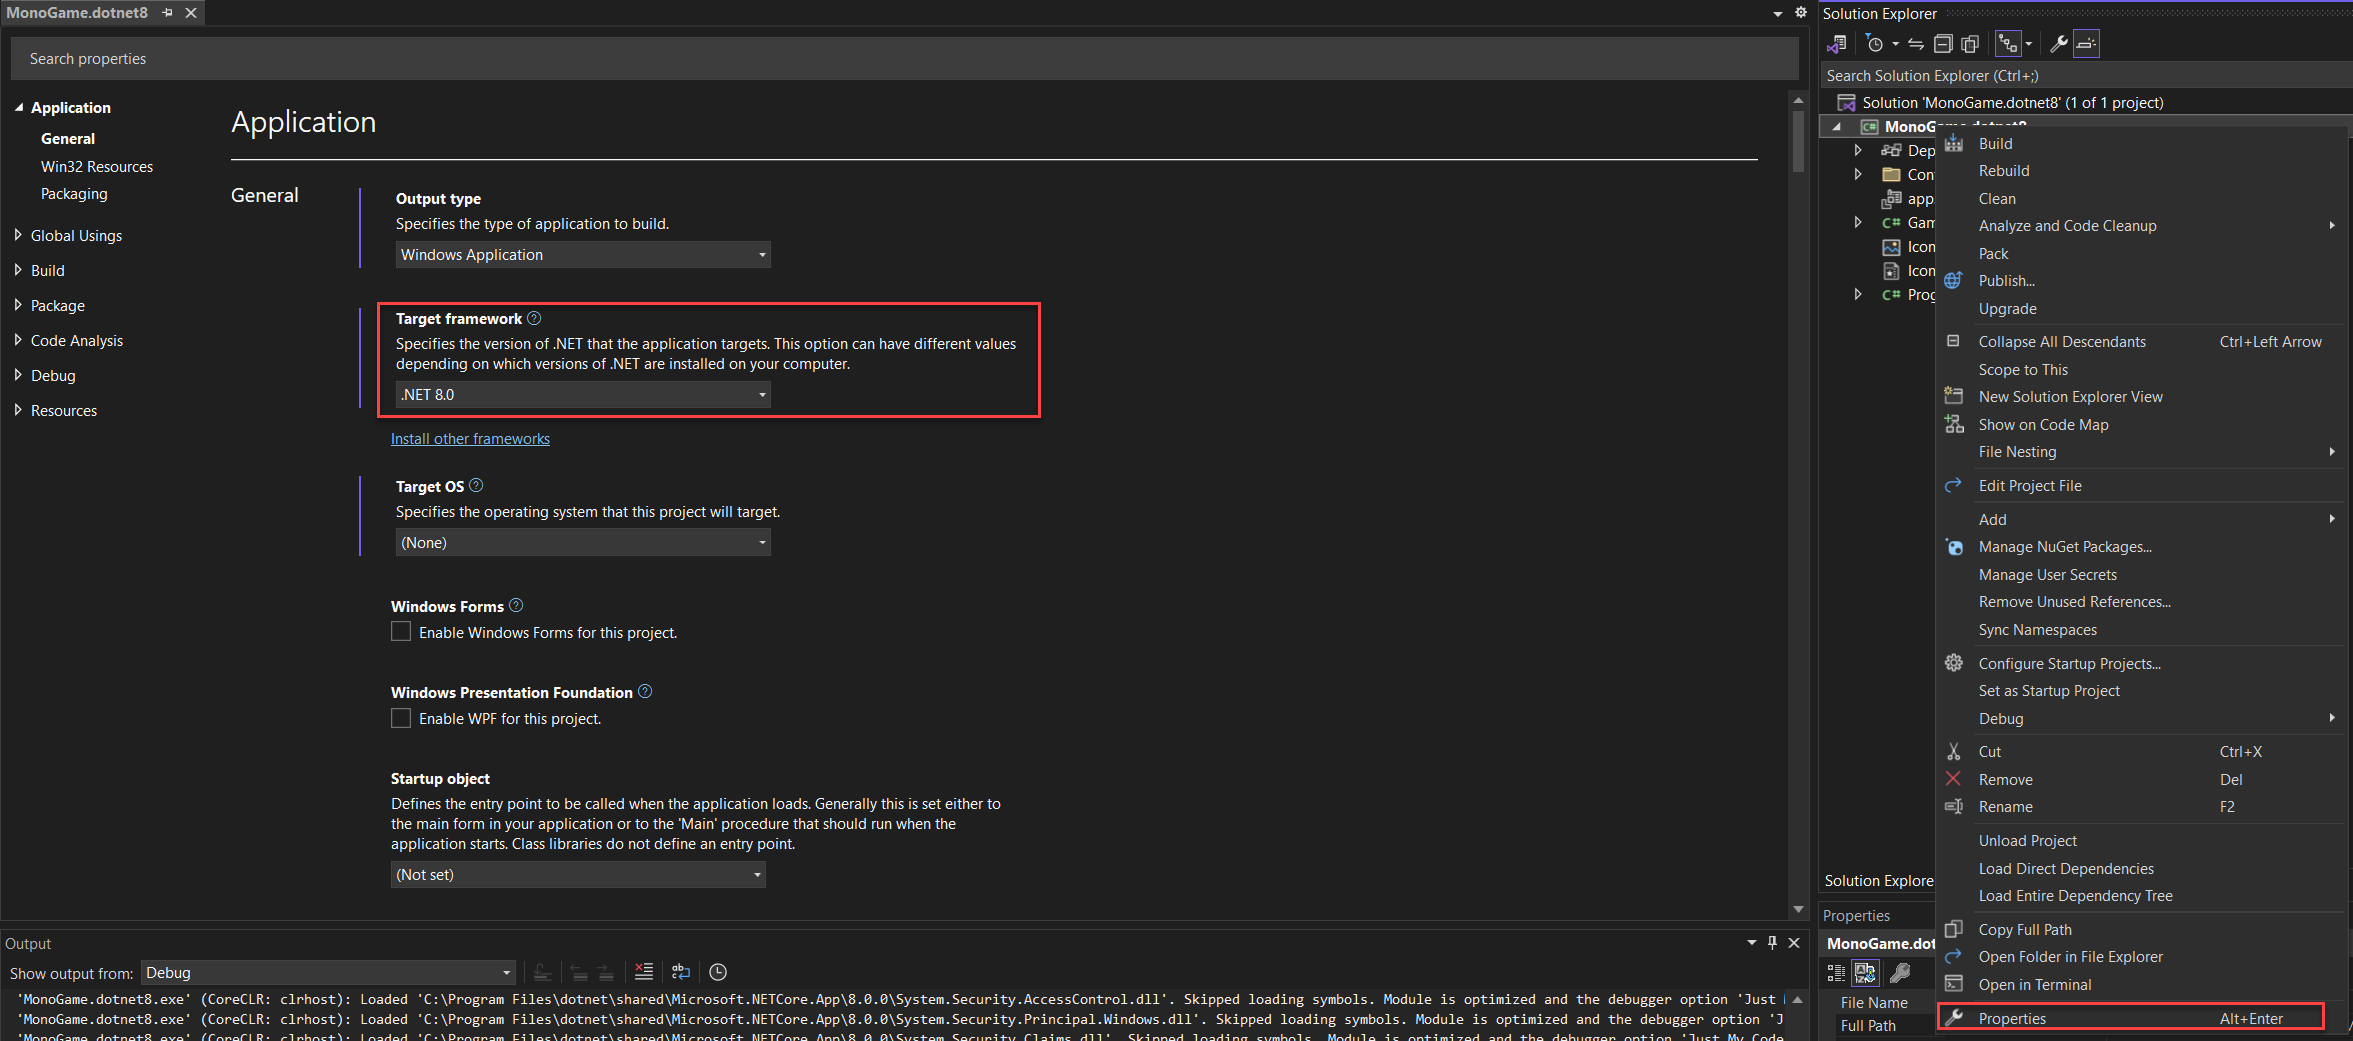
- Save and close the window, which now changes the building of your project to .NET 8
- Next, we need to add a new NuGet source so that you can access the developer packages instead of the publicly published ones on NuGet. Right-click the Dependencies branch of your project and select Manage NuGet packages.
- From here you can see (by default) what NuGet packages are installed in your project, for which you should see the existing MonoGame packages. Now, click the COG icon next to the Package Source drop-down in the top-right-hand corner of the screen, which will bring up the Package Sources configuration for your project.
- We now need to add a new source to be able to select packages from the MonoGame GitHub repository, click on the “+” button in the top-right-hand corner of the window which will add a new item to the list and select it (if it does not select it, just select the item labelled “Package Source”).
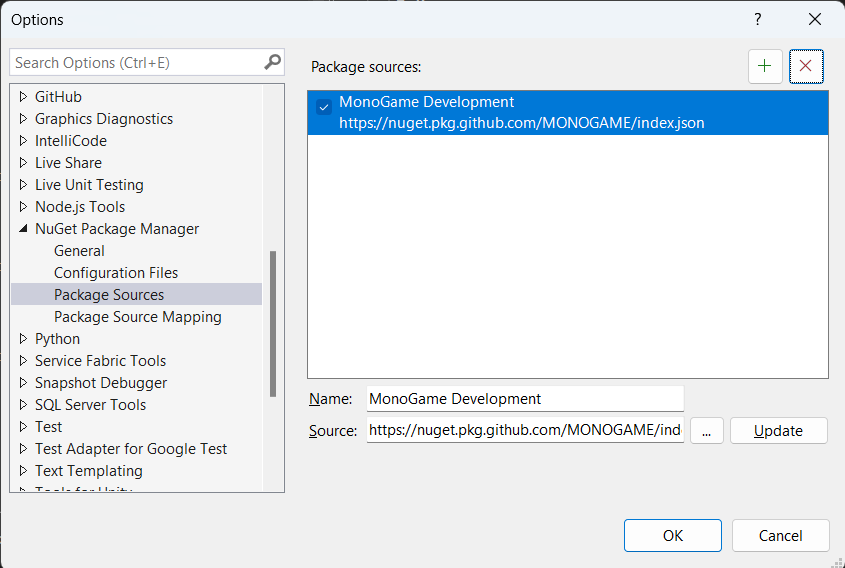
- Next, enter the following details:
- Name: MonoGame Development
- Source: https://nuget.pkg.github.com/MONOGAME/index.json
-
Once you have entered the details, click on the “Update” button to save the changes and you should see the updated screen below:
-
Now just click OK and select the new Package Source in the drop-down (if it is not selected already)
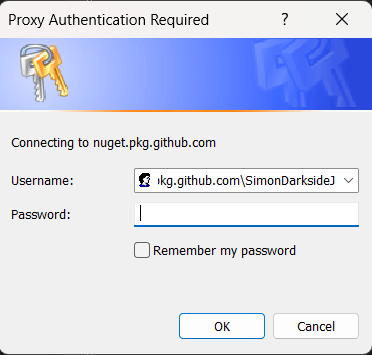
The first time you access the MonoGame developer NuGet source on GitHub, you will be asked for your authentication credentials. Simply enter your GitHub Username (or email) and your Personal Access Token (for the password) that you generated earlier to progress.
- Sadly, all we can still see are the existing Release packages at this point, to see the development versions you need to also check the “Includeprerelease” checkbox next to the search bar at the top of the screen, and WHOOSH, the MonoGame packages list will update to show the VERY latest versions.
From here you should simply be able to select the installed packages and update them to the latest without issue. Congrats you are now using the .NET 8 version of the MonoGame Framework!
Next Step, jump to this section to also update the MonoGame tools, e.g. the MGCB content tool.
Getting access to the .NET 8 developer version of MonoGame with Visual Studio Code
For Visual Studio Code, the flow is a little more manual and also a bit trickier as we no longer have a UI in which to make changes, so we need to apply the updates by hand.
- Open Visual Studio Code in your MonoGame Project folder.
- Select the CSPROJ file in the folder tree.
-
Change the TargetFramework value from net6.0 to net8.0. (yay your project will now build for .NET 8)
<TargetFramework>net8.0</TargetFramework> -
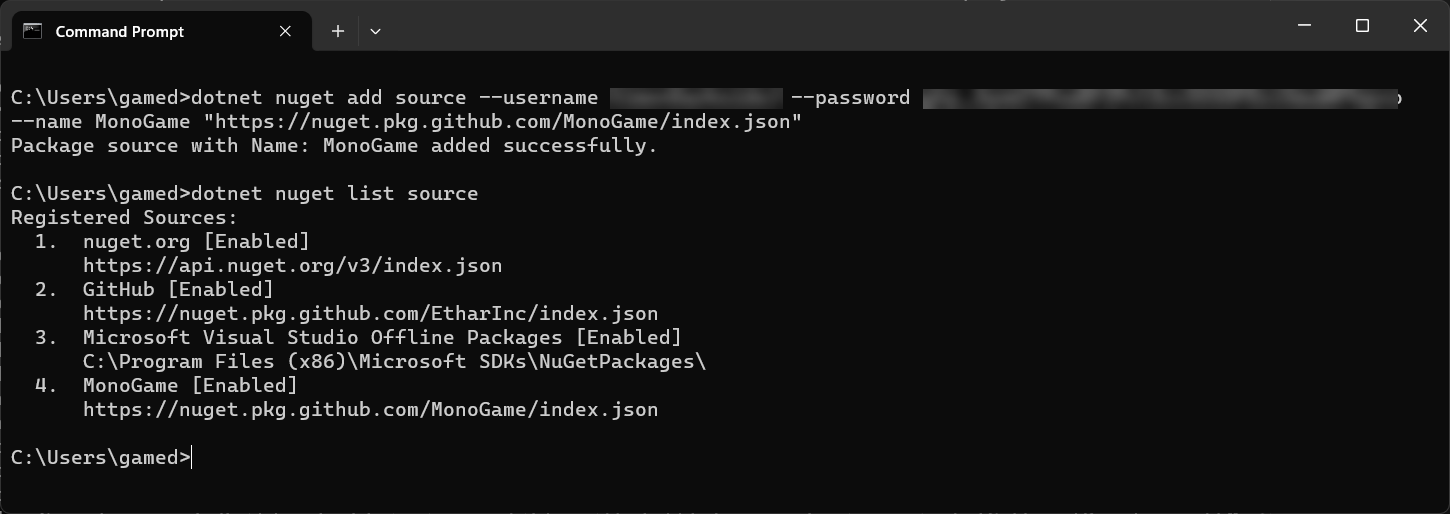
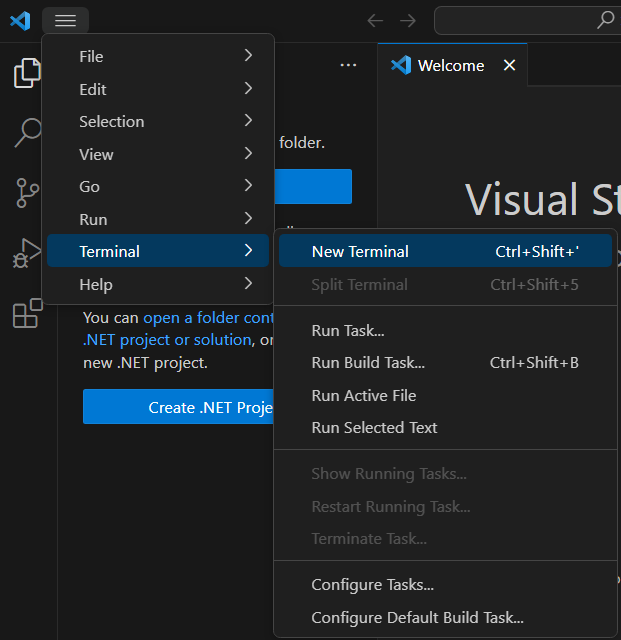
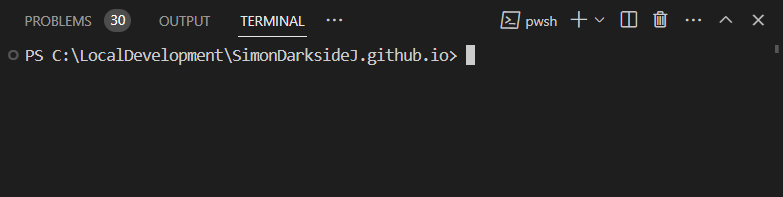
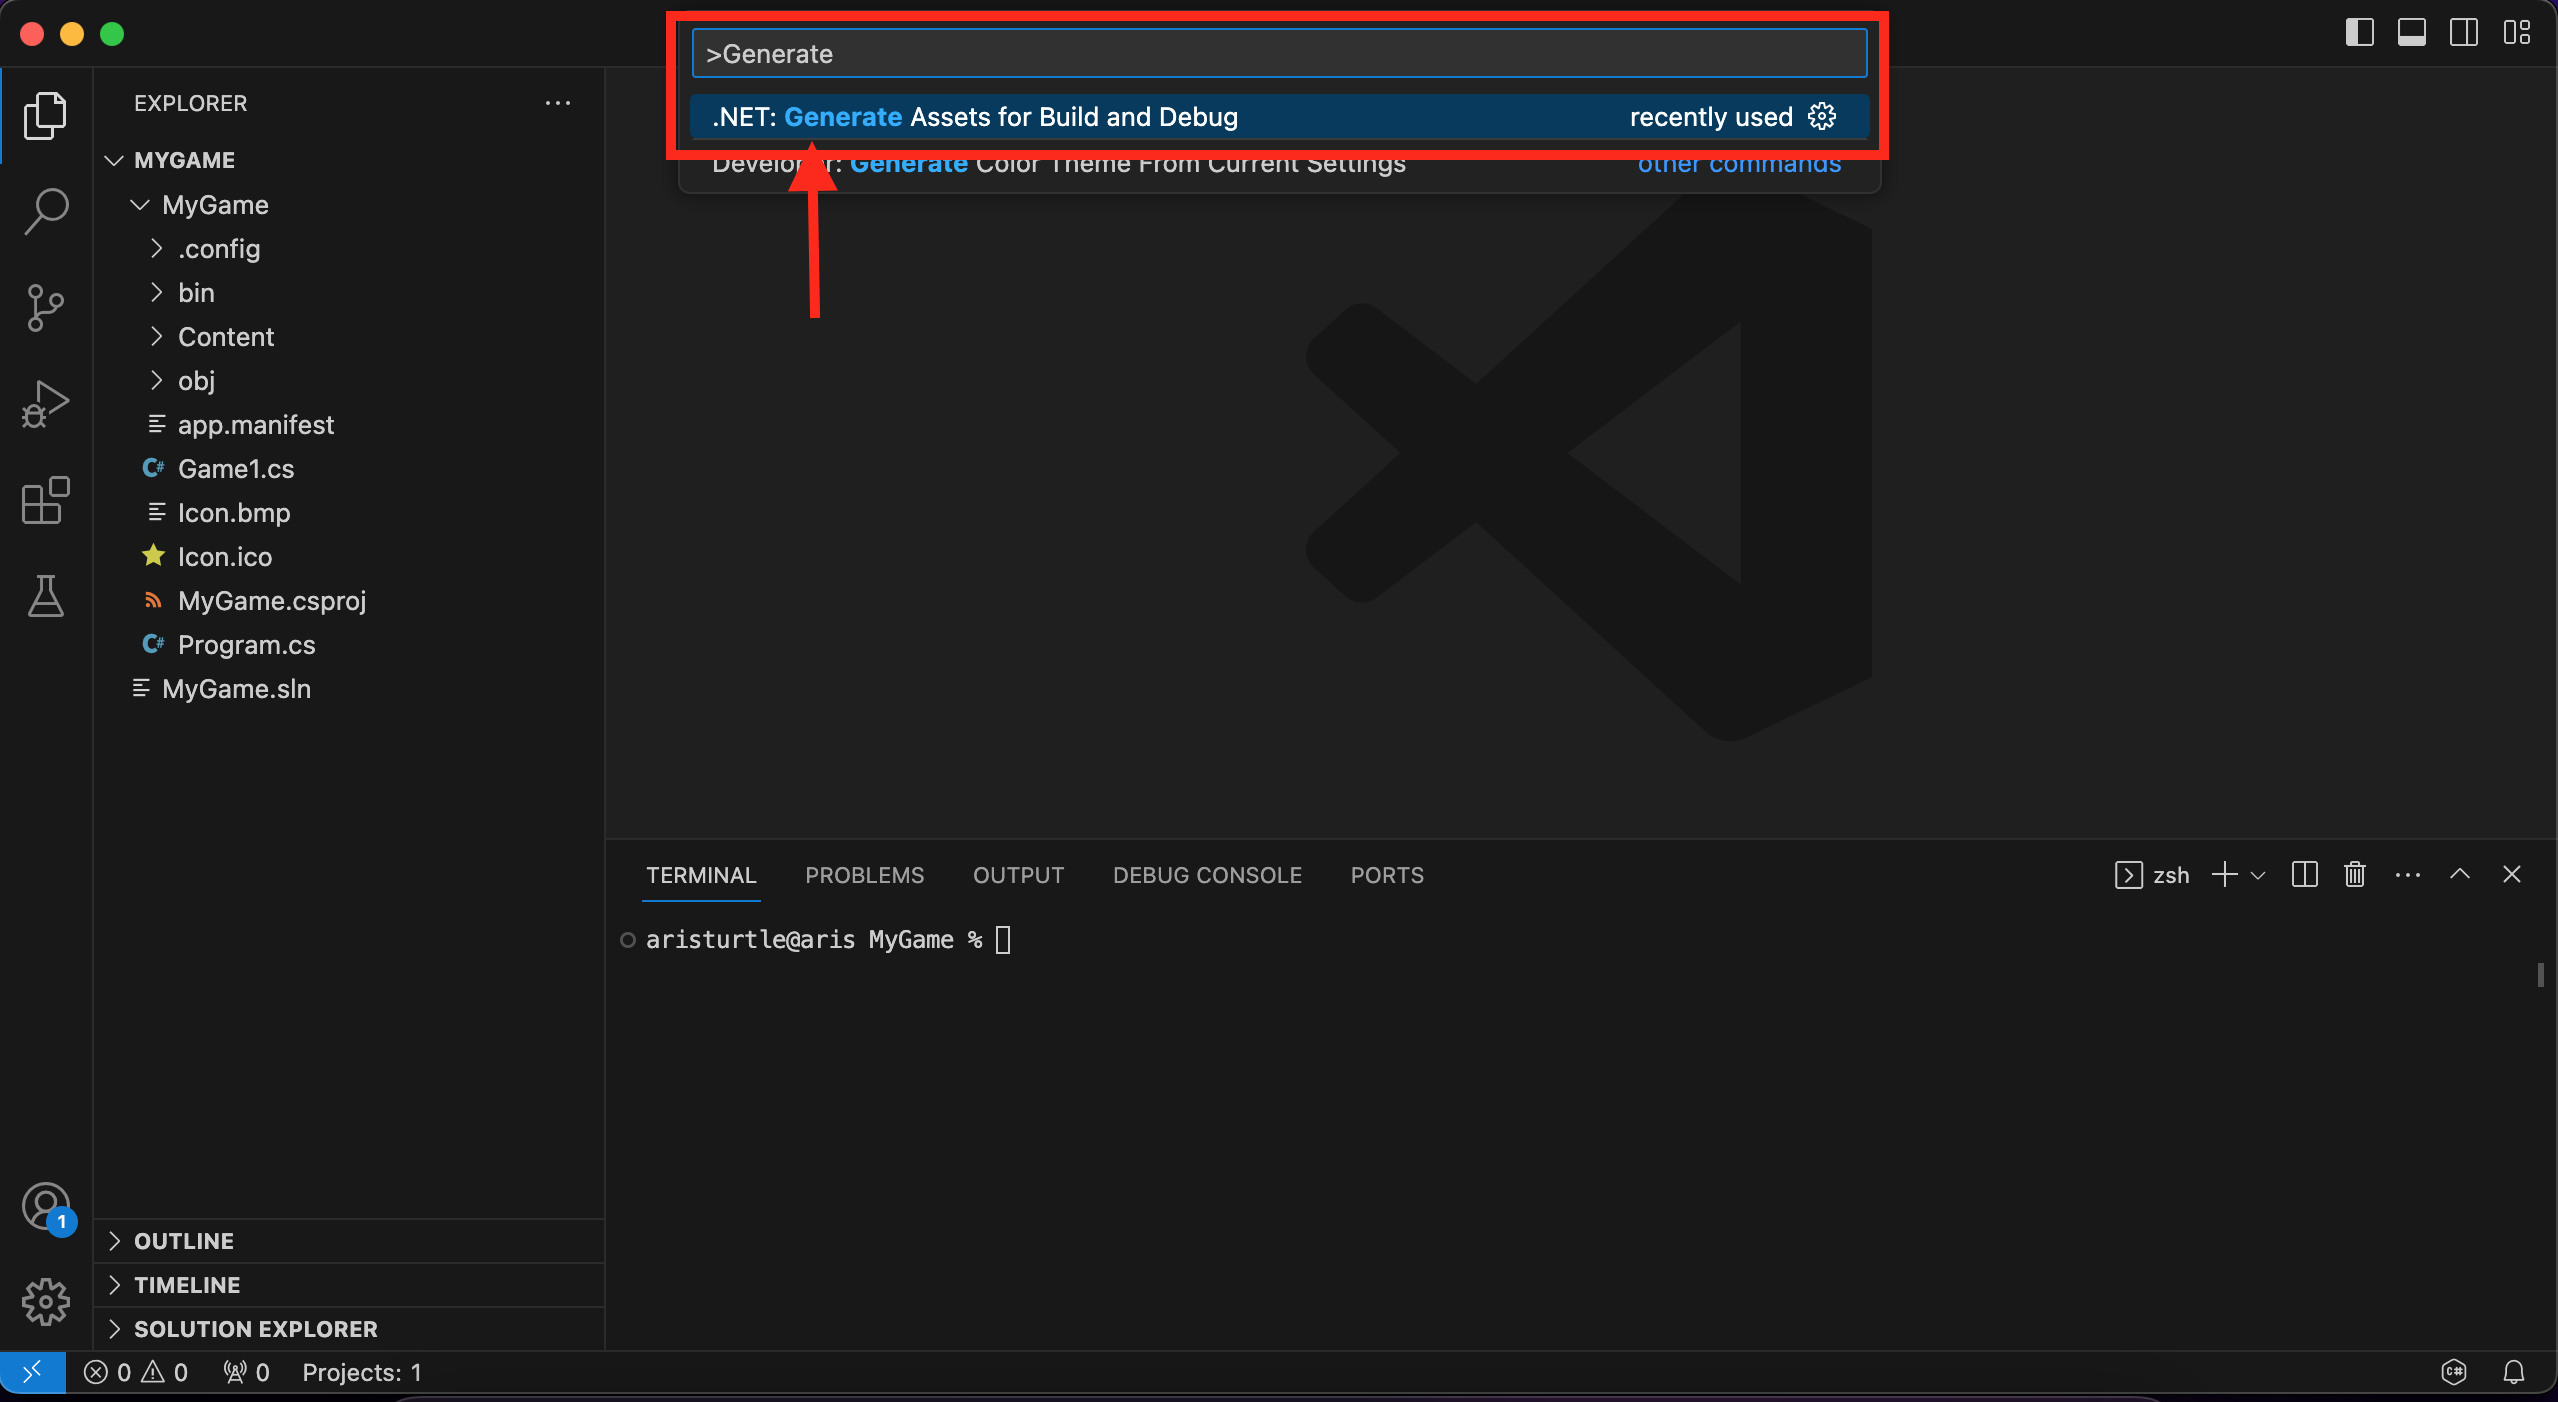
Next, to be able to access the GitHub Packages, we need to authenticate with GitHub to access the developer packages, open a new Terminal Window in VSCode (“Terminal -> New Terminal” or “Ctrl+Shift+’”) and then type the following:
dotnet nuget add source --username <your GitHub Username/> --password <your GitHub PAT/> --name MonoGame "https://nuget.pkg.github.com/MonoGame/index.json"Making sure to replace the username and password with your GitHub credentials, your username and the Personal Access Token you generated.
-
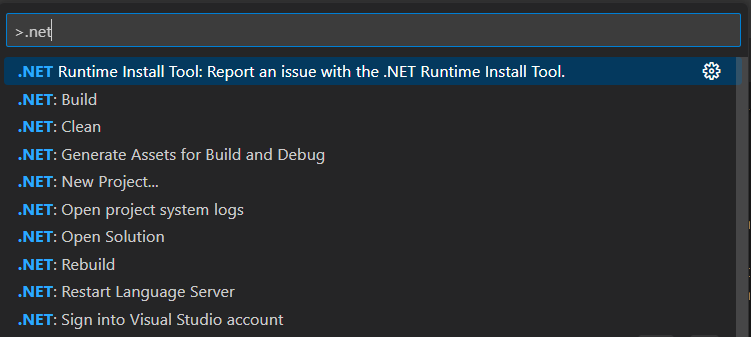
With the authentication in place, enter the following command for each package you have installed:
.NET add package MonoGame.Content.Builder.Task --version 3.8.1.534-developTo check the correct version to use for the packages you want to install, visit the Packages list on the GitHub repository and click on each package to see all the versions for the package and even the command-line command, as shown above.
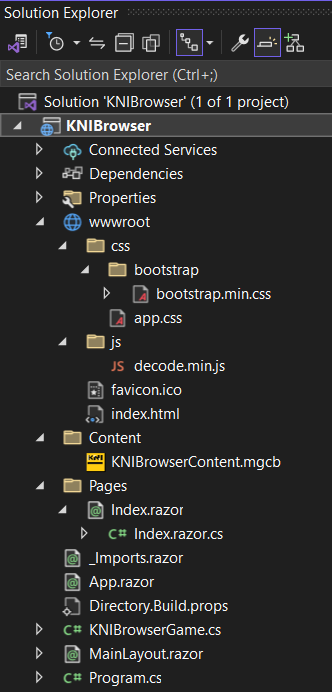
If you now check the Solution Explorer tab in the Browser window on the left, you will see the dependency packages updated to the development versions of MonoGame (assuming your nuget.config is configured with the right credentials)
Do not forget about the tools

You have updated your project to .NET 8 as well as your MonoGame Framework dependencies. So, why when you do a build does it still use the old .NET 6 versions of the MonoGame Tools (like MGCB)?
The simple answer is because you are still telling it to.
To update your project to use the newer .NET 8 version of the tools, you also need to update the .NET-tools.json configuration located in your projects .config folder.
Simply edit the file in Visual Studio or VSCode and swap out the older 3.8.1.303 version number with the newer version you installed with your packages, which at the time of writing was 3.8.1.534-develop, as shown below:
{
  "version": 1,
  "isRoot": true,
  "tools": {
    ".NET-mgcb": {
      "version": "3.8.1.534-develop",
      "commands": [
        "mgcb"
      ]
    },
    ".NET-mgcb-editor": {
      "version": "3.8.1.534-develop",
      "commands": [
        "mgcb-editor"
      ]
    },
    ".NET-mgcb-editor-linux": {
      "version": "3.8.1.534-develop",
      "commands": [
        "mgcb-editor-linux"
      ]
    },
    ".NET-mgcb-editor-windows": {
      "version": "3.8.1.534-develop",
      "commands": [
        "mgcb-editor-windows"
      ]
    },
    ".NET-mgcb-editor-mac": {
      "version": "3.8.1.534-develop",
      "commands": [
        "mgcb-editor-mac"
      ]
    }
  }
}
Done, next time you perform a .NET restore or build your project, the latest version of the tools with be downloaded and made available (they will not be available until you do your FIRST build after making the update)
*Note this is still a manual task. Every time you update the dependencies, you will also need to update the tools versions.
Conclusion
To the beginner, this upgrade will not mean much at all, except to state that you will be running on the latest “supported” version of Dot Net (as .NET 6 is now in maintenance only), which also means you will get all the latest fixes and updates to the backbone of your project. As well as the modest speed improvements from the latest and greatest of .NET.
For the more adventurous, newer C# features and .NET 8 specific functionality are now within your project, so much so that I couldn’t fit them into a single article :D
But you can check out the .NET 8 docs for even more details.
I wish you well on your continuing adventure with MonoGame and make sure to keep an eye on what the Foundation will promise next (but no Galactic Empire falls predicted yet if you are watching the Foundation TV series).
]]>
 Just be sure to run the above


 } in the left-hand toolbar and then search for “dev kit” which should then result in a whole list of extensions and right at the top (hopefully) you should find the “C# Dev Kit” published by Microsoft, as shown below:
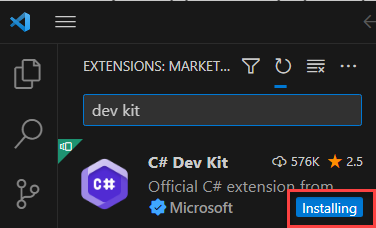


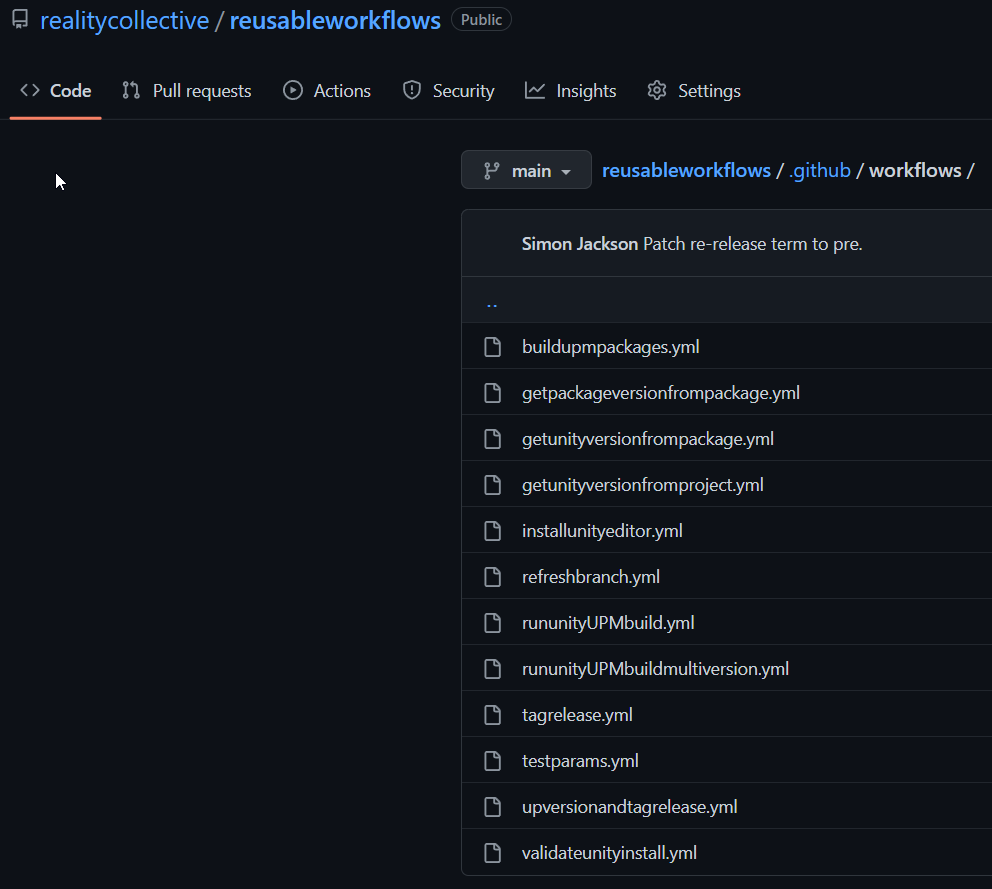 Reality Collective reusable workflows