Mastering Unity 2D Game Development - Animation Curves
In the run up to the launch of my first published title (a book this time) I’m going to be doing some short snippets from some of the many exciting things you will learn within its pages.
The sample project and code for this snippet can be found here: – AnimationCurves.zip
Edit – seems only 5 minutes since I posted this article and already we fine other useful frameworks to assist with using AnimationCurves on their own. This handy little project enables some interesting Editor enhancements to allow copying, pasting and even the extraction of animation steps from a curve. Here’s a nice article that explains it all, fantastic effort!
Mastering Unity 2D Game Development
About the book
The book was an interesting challenge for me and is written with the same flair I use within my blog, I have always felt it is better to educate and show you, not only how to do things but also why you should do it one way over another, plus if there are any alternatives, I will point them out. As a reader you should be informed about your choices (and then make your own mind up ![]() ).
).
Through its pages you will build an RPG game framework which you can then extend and make your own, the aim is to give you enough hints, tips and help to build your own finished game.
Here is what you should expect from the title:
- A run through the new improvements in Unity 4.3 or 2D game development (and everything else in case you missed it)
- A deep dive in to the new Sprite system and the Animation improvements (the first of my chapters that got so big it had to be split in twain)
- Working with 2D camera’s, scenes and sprite layering plus some advanced coding techniques which lead up to building your own RPG conversation system.
- We cover building a map and exploration system with the eventual conclusion of running in to some nasty goblins who have a really mean steak
- If shopping is your thing, you’ve come to the right place, can I interest you in this lovely lv 1 sword. Learn to build a shopping system and then head back out in to the fray
- In the second chapter that also got two big for its boots and had to be severed right down the middle we cover turn based battle systems, including some was to use mecanim that you may have never considered before (State battle machines and AI anyone?)
- With the game framework done we look at finishing your title and looking at the editor to see how we can extend it to help build our game for us (editor scripting, yummy), rounding up with an in depth report on enabling in-app purchasing the right way
- Finally, we round up with a look at extending and deploying to platforms, cram packed with help on serialisation (saving and loading), making code only run on specific platforms or the editor and masses of hints and tips on marketing
My only regret with this book is that it couldn’t be bigger
there is more than enough information within this titles pages to get you 90% there with your own game, all you got to do is finish it and add lots more content!.
As with everything I do, if there is more you want to know on any subject within the book, drop me a line or comment on my blog and I will be more than happy to write even more on the subject.
Enough about the book – Where is my snippet
Right, the first snippet from the book is about:
Animation Curves
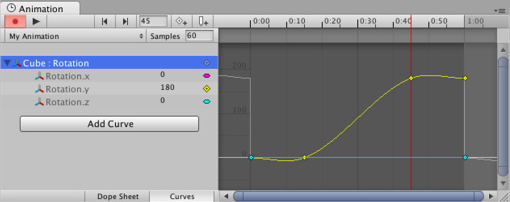
(Animation dope sheet Curve view)Now for those of you who have dabbled, Animation curves are primarily use by the new Animation system, they give you a fine level of control over how editor properties should change over time, either gradually, sharply or according to some style of bezier curve. The curve editor in the animation sheet is very powerful (and keeps getting updated each release!). It basically allows you to:
- Set an animation over a defined length of time
- Define key points in time where the animation property will change
- Organise how the animation will transition through the animation keys, smooth, sharp, uniform, etc.
- Set events to fire at specific times
There are more but these are the key points. All well and good but did you know you can use this awesome system OUTSIDE of the animation system.
At its core, all the Animation Curve system does is to change a value up or down over time according to a pre-set pattern, this is also referred to as tweening in some circles. So what if you could just make your own curves separate to an animation to control say:
- A fading cycle – fading in and out of a scene or a menu
- Controlling how fast or slow a character travels along a map
- An enemy path in a shoot-em-up
There are many places a tweening system (like LeanTween, HoTween and iTween on the asset store) do for your games.
Note, obviously a single curve is not going to completely replace advanced tweening systems like those mentioned above, it is all a case by case basis, how difficult does your system need to be for each thing you do. No one size fits all!
So, how would you implement this? Actually, very, very easily.
The script / editor property
We start with a property in which ever script you need to access curves from, first create a new script, say called AnimationPath and replace its contents with the following:
using UnityEngine; public class AnimationPath : MonoBehaviour { public AnimationCurve myTransitionPath; }
This gives us a base framework for our curve and some properties to control where an object starts and where it will end up plus a timer.
Curve Property Inspector
If you now save this, and in Unity create a new scene, add a GameObject like a sphere and add this script to it, you will see the following in the editor inspector:
The Curve Editor
We have a curve (all on its lonesome without an animation system to call home), clicking on the curve inspector property for the My Transition Path value, will then give you the standalone curve editor:
A bit boring as we have not configured it yet, if you click on one of the presets at the bottom of the window, we can begin crafting our own curve, or just use the preset itself:
From here you can do most of the tasks that you can do in the Animation Dope sheet curve editor (except add events). You can also save your curve (if you create a pretty tricky one you want to reuse) by clicking on the cog con in the bottom left
Lots of options to choose from but enough about the curve itself, we want to actually use this to do something. Returning to our script, let’s enable the behaviour that when the user clicks or taps on the screen it moves the object it is attached to, but doing so according to how we have configured our curve, slow, fast, or in a weird and wobbly motion.
Back to the Script
So with a simple enhancement to the script earlier, we can add some additional properties to track a transition from one point to another with a timer to track the delta:
using UnityEngine; public class AnimationPath : MonoBehaviour { public AnimationCurve myTransitionPath; Vector3 StartLocation; Vector3 TargetLocation; float timer = 0; }
We then add a simple Awake function, to check (remind you) if the Animation curve has been configured and warn you if it hasn’t (always a good practice):
void Awake () { if (myTransitionPath.keys.Length \< 1) { Debug.LogWarning("Transition Path not configured"); } }
And finally an update method to check input and transition the GameObject it is attached to from its current location to a point on the screen. In this method we need to:
- Check if there has been a touch or click input
- Convert that touch/click to world coordinates (and zero out the Z value for 2D in this case)
- Set the start location as the current GameObjects position and the target to the converted touch/click point
- Finally Lerp the GameObject from the start to the target based on the current time taken through the transition against the position on the curve
The resulting Update function looks like this:
void Update () { Vector2 playerInputPosition = Vector2.zero; if (Input.GetMouseButtonUp (0)) { playerInputPosition = Input.mousePosition; } if (Input.touchCount \> 0) { playerInputPosition = Input.GetTouch(0).position; } if (playerInputPosition != Vector2.zero) { timer = 0; StartLocation = transform.position; TargetLocation = Camera.main.ScreenToWorldPoint(new Vector3(playerInputPosition.x,playerInputPosition.y,0)); TargetLocation.z = 0; } if (TargetLocation != Vector3.zero && TargetLocation != transform.position && TargetLocation != StartLocation) { transform.position = Vector3.Lerp(StartLocation, TargetLocation, myTransitionPath.Evaluate(timer)); timer += Time.deltaTime; } }
The line to take notice of is the following line:
transform.position = Vector3.Lerp(StartLocation, TargetLocation, myTransitionPath.Evaluate(timer));
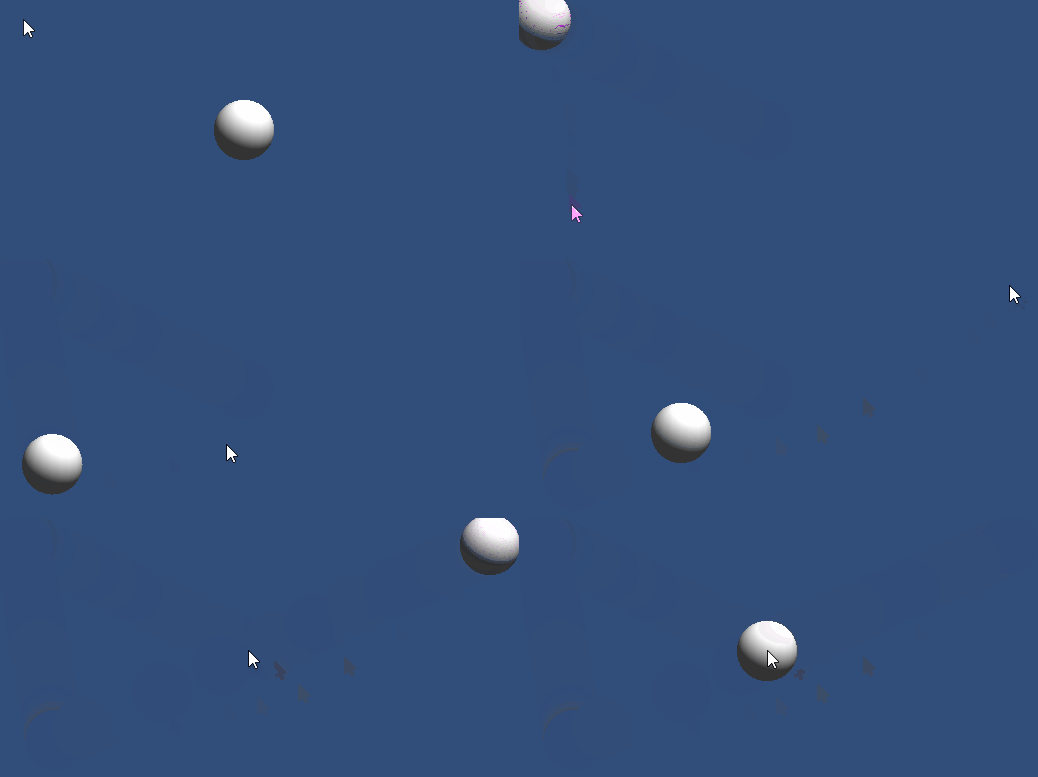
Where we use the Evaluate function of our configured curve to denote the amount of movement the GameObject should move (in this case) for the current frame. This results in the following motion: (please be gentle this is my first animated GIF, got to be in with all the cool kids these days):
So as you can see, depending on how far the sphere has to travel, the power curve quick to begin and slow to stop but steady in-between. By just altering the curve we can alter the behaviour without changing any code.
Extra Credit
Why stop there, how about using two curves to create a path, just for fun I created sine and cosine curves and applied them to the sphere’s transform as follows:
Sin Curve:
Cosine Curve:
Script:
using UnityEngine; public class CirclingSphere : MonoBehaviour { public AnimationCurve sinPath; public AnimationCurve coSinPath; float timer = 0; void Awake () { if (sinPath.keys.Length \< 1 || coSinPath.keys.Length \< 1) { Debug.LogWarning("Transition Paths not configured"); } } void Update () { timer += Time.deltaTime; var pos = transform.position; pos.x = sinPath.Evaluate (timer); pos.y = coSinPath.Evaluate (timer); transform.position = pos; if (timer \> 2) { timer = 0;} } }
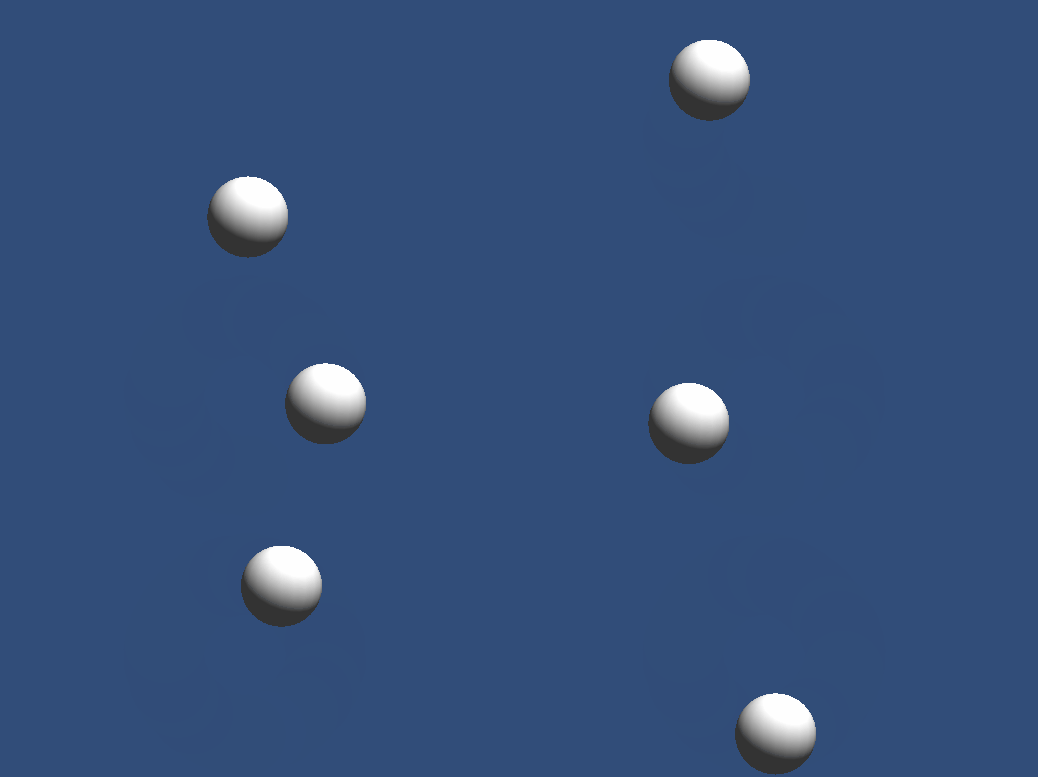
Resulting in the following animation:
Granted the above example would be a lot simpler to do in code, it is just a more detailed example
Just a little extra fun but you get the idea, there are numerous possibilities for when you want to configure a curve to animate or lerp a value within a range.
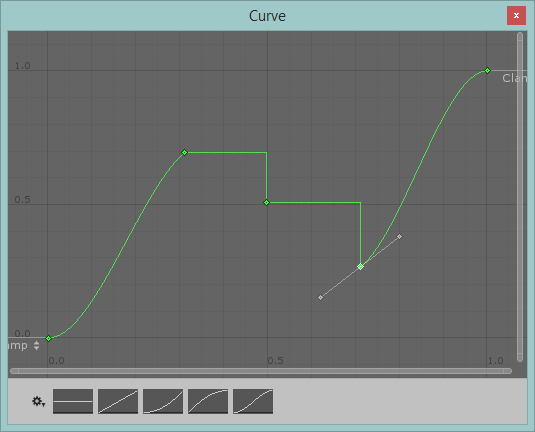
Doesn’t have to be smooth, you could end up with something like this:
And goodness knows what that could do with that ![]()
We hope you enjoyed the show
I do hope you like this little snippet, just one of (hopefully) many little break out sections from the book. These snippets do have a lot more detail as I have more space to work with (it is really surprising how restricting 500+ pages gives you ![]() ) but everything you need to know is covered in each section.
) but everything you need to know is covered in each section.
The sample project and code for this snippet can be found here: – AnimationCurves.zip
Be sure to check out the AnimationCurves editor extensions here and the write-up about the extensions here! Fantastic effort community!.


