Applying a theme to your GitHub pages site
Following on from Part 1 in the GitHub Pages series - Getting started with blogging using GitHub pages and Jekyll
Now that you have got a taste for your very own free site using GitHub Pages, let us start to personalize your site a little more to your liking.
The 12 default GitHub pages themes are ok, but they only offer a single styled page and everything else (as you saw by adding some code) you have to do manually. However, there is a whole world of community resourced Jekyll themes out there, and most support being hosted on GitHub pages so let us get this party properly started.
How to choose a theme
When choosing a theme, there are a few points to take in to account, based on what you want to use your site for:
- Blog posts
- Site pages (separate from posts, fixed pages)
- Categories / Tags (Categories are like playlists, tags are content types of post)
- SEO (Search Engine Optimization)
- Comments
- Analytics - track how your site is used
- Mailing lists
- Social sharing
- etc
Each theme usually does a good job of showcasing what the theme supports and what can be enabled through configuration (by configuring the _config.yml for the site), so be as picky as you like for what your needs are.
It is still possible to extend the site beyond the theme yourself, but it takes a lot more care and knowledge to implement. Easier of the theme already does what you want.
Where to get these mysterious themes
There are a few places from which to get themes for your GitHub pages site, namely:
| Site | Description |
|---|---|
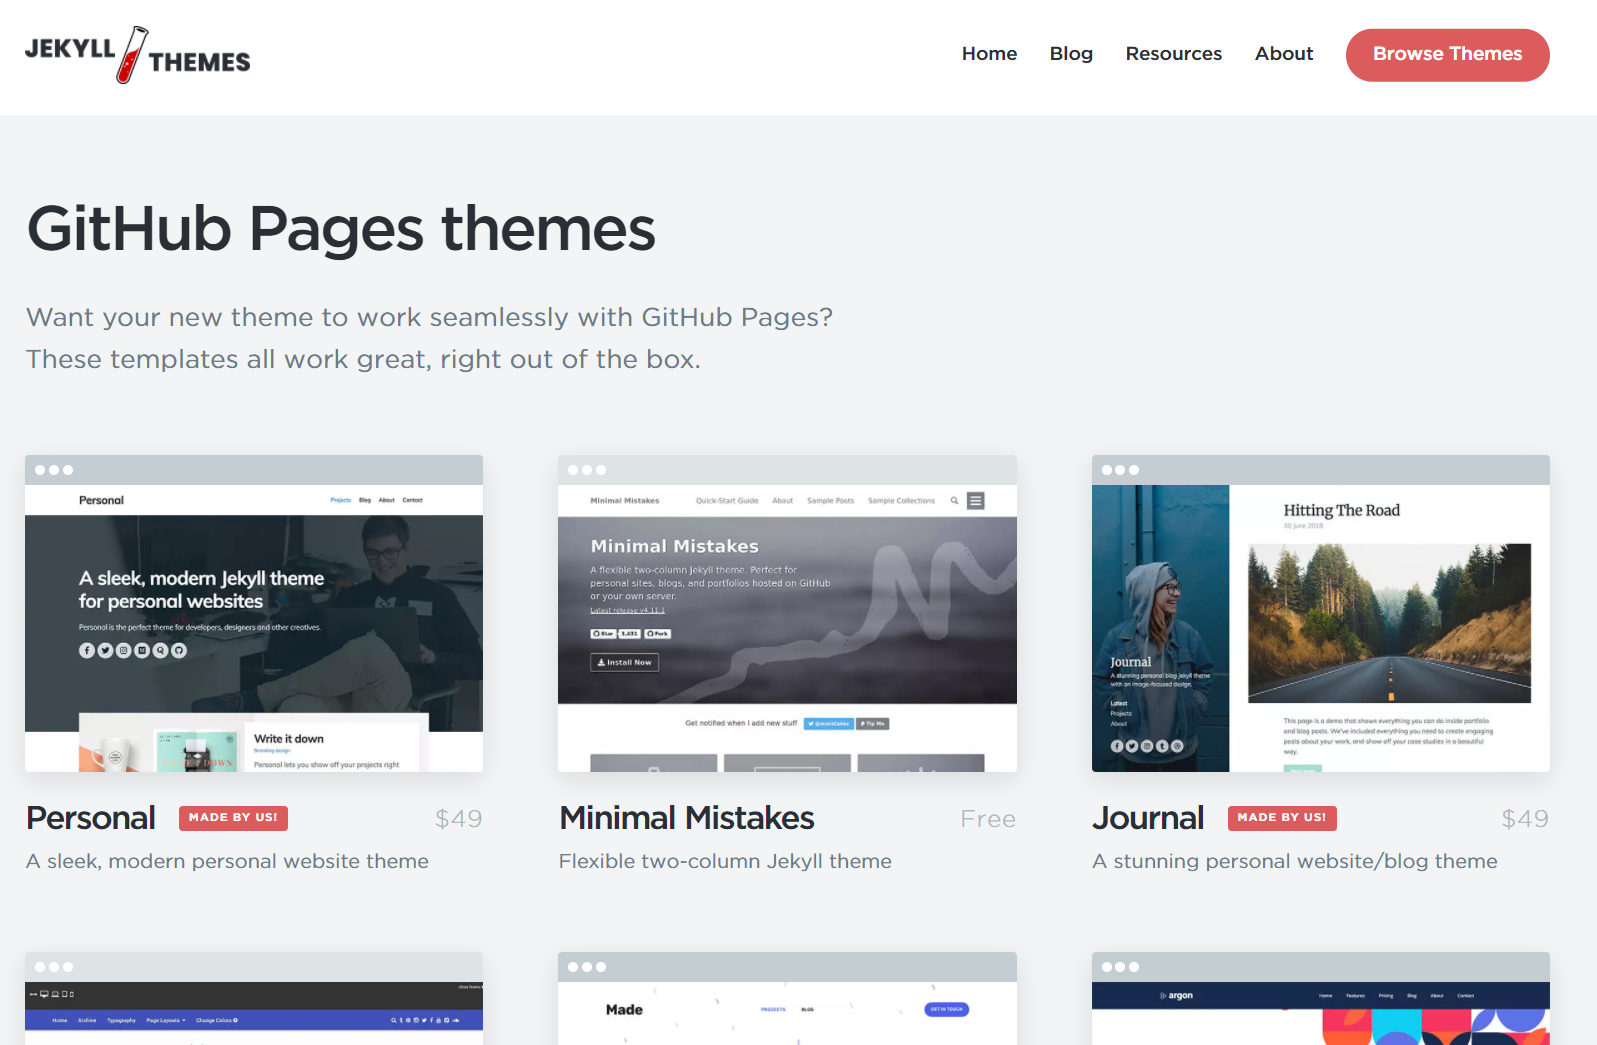 |
Jekyll Themes - GitHub pages List 100% supported, some free but most paid |
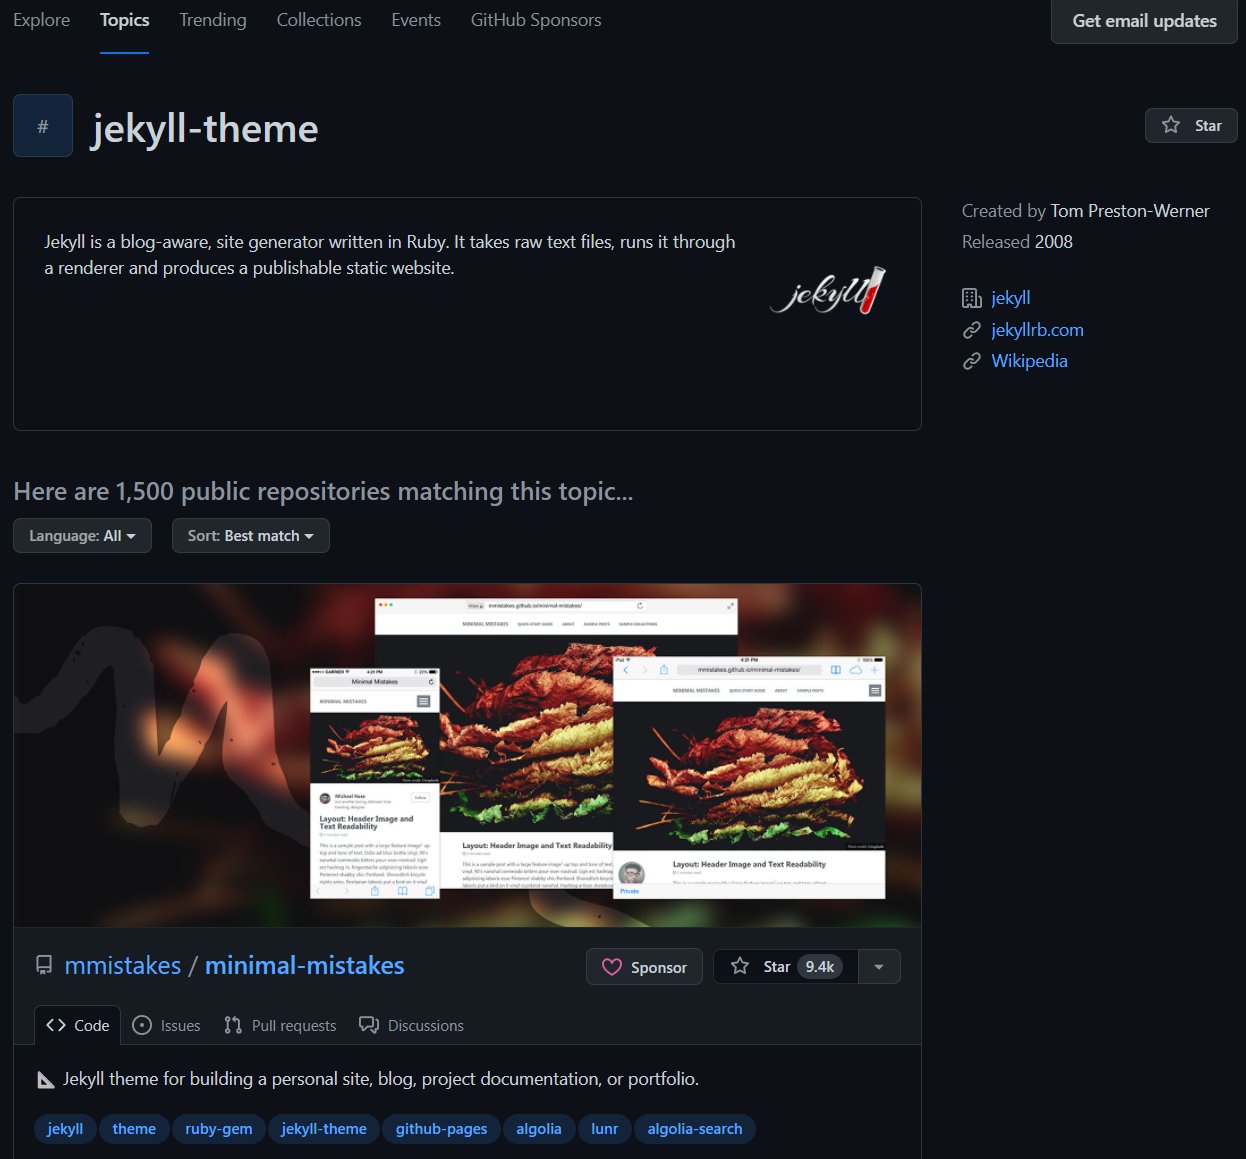 |
Jekyll Themes GitHub filter 90% supported - mostly open source |
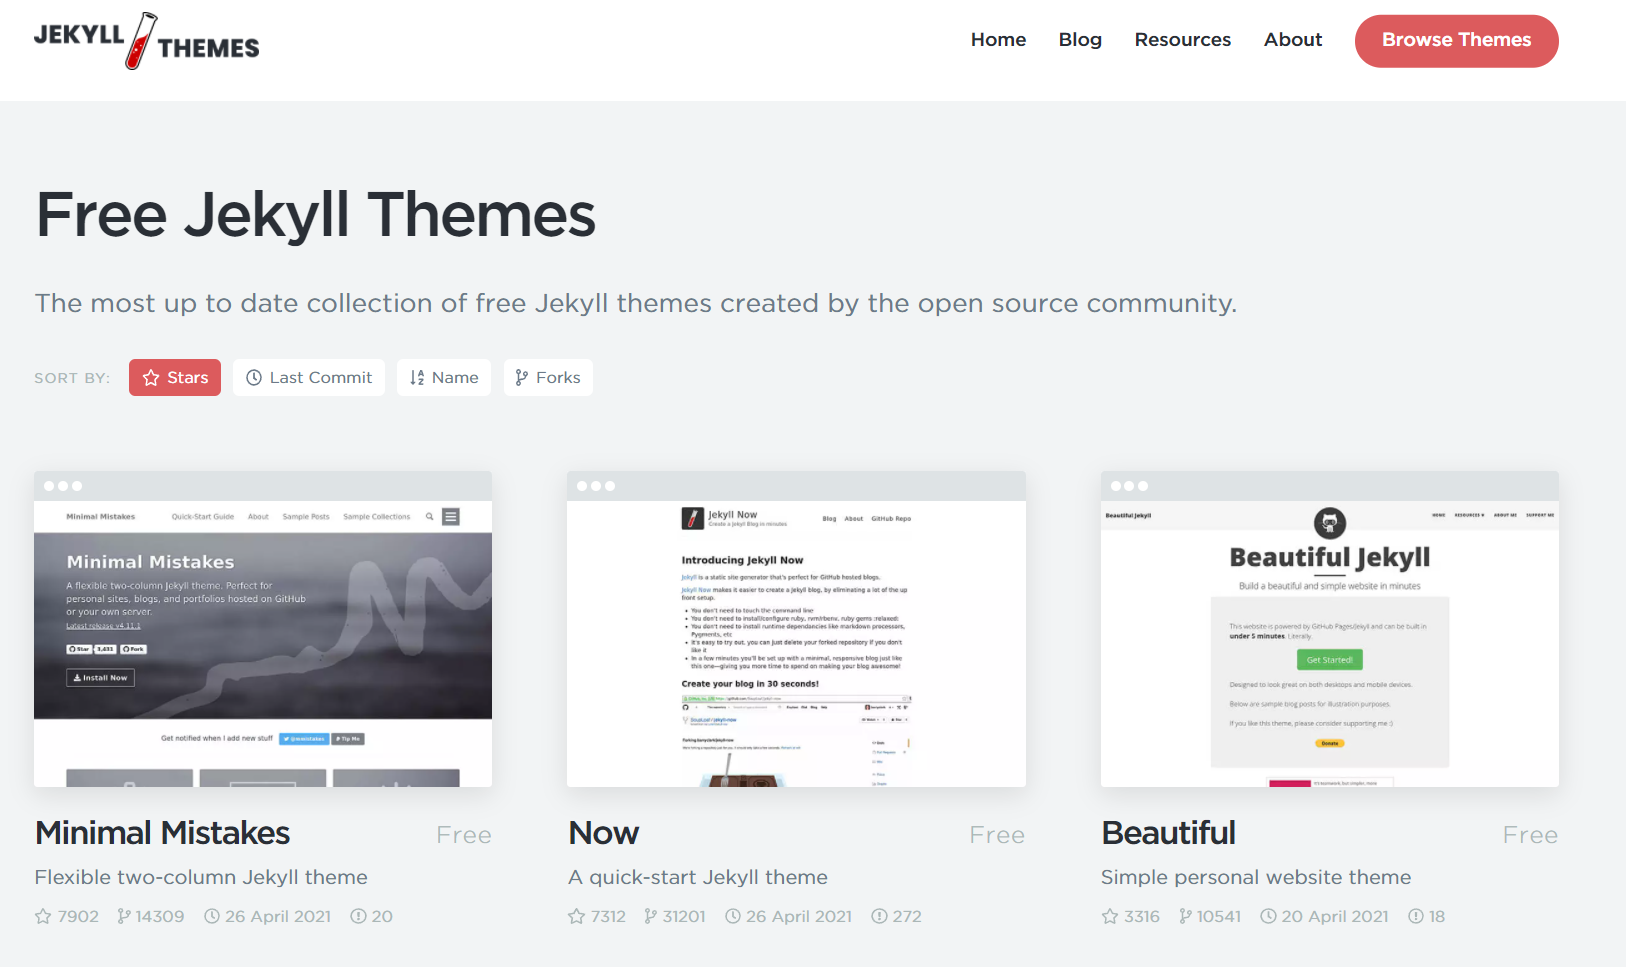 |
Jekyll Themes - Free 70% supported with a mix of features |
The main thing to be aware of when browsing themes is that not all are 100% supported to run on GitHub pages. There may be a bit of trial and error involved when selecting a theme that does not advertise being GitHub pages compatible.
Installing a Theme
Now here is the rub, most themes need to effectively “take over” your GitHub pages repo in order to function, it is just the nature of how themes work with Jekyll. This is not a bad thing, it is just that there are sooo many ways to style and configure Jekyll functions.
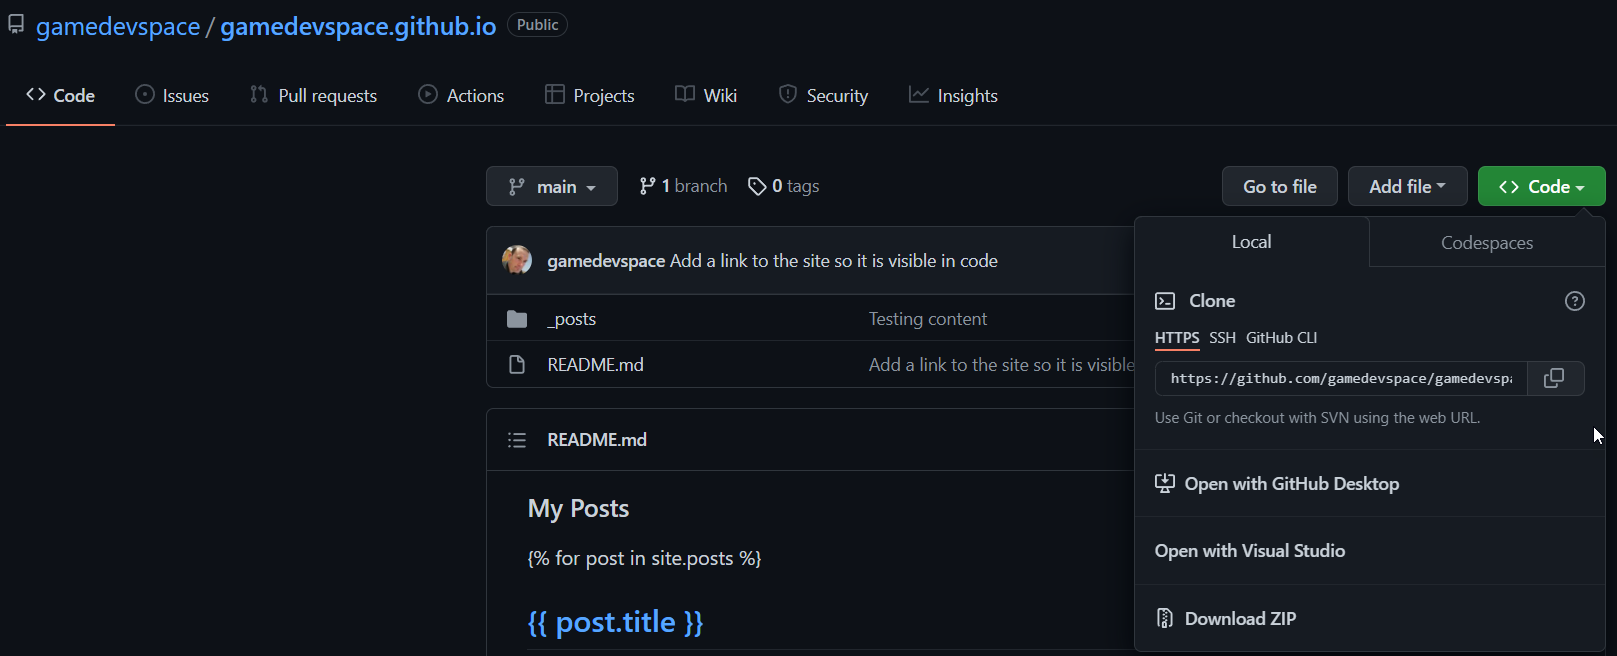
1. Backup your content
The first step in installing a theme is to not install the theme :D, to begin, make a backup of your content (Posts, Pages, text you have written already if you have any) to somewhere safe. The easiest way is to clone your site locally to your own machine, either using the GitHub desktop (recommended) or your favorite Git client (I use VS Code). Alternatively, GitHub also gives you an option to simply download your current site as a Zip file.
My personal preference is to use Microsoft VSCode on the desktop, as it is also a markdown editor and has great GitHub support. Read more here.
You might also recognize VS Code from the previous article, as it is the same interface GitHub uses on the web.
2. Delete your old <username>.github.io site
On your current github.io repository (if you created one following the previous article), head over to the “Settings” tab, scroll down to the bottom and select “Delete this repository” in the “Danger Zone”. You will need to confirm the repository name in order to finally delete it (just copy the text it wants from the message box).
It is sad to see it go, but it is for a good cause.
3. Making a theme template your own
Now here there are TWO main options that theme writers provide (Check the Templates installation instructions for more detail):
-
Use the GitHub template system to generate your new <username>.github.io repository.
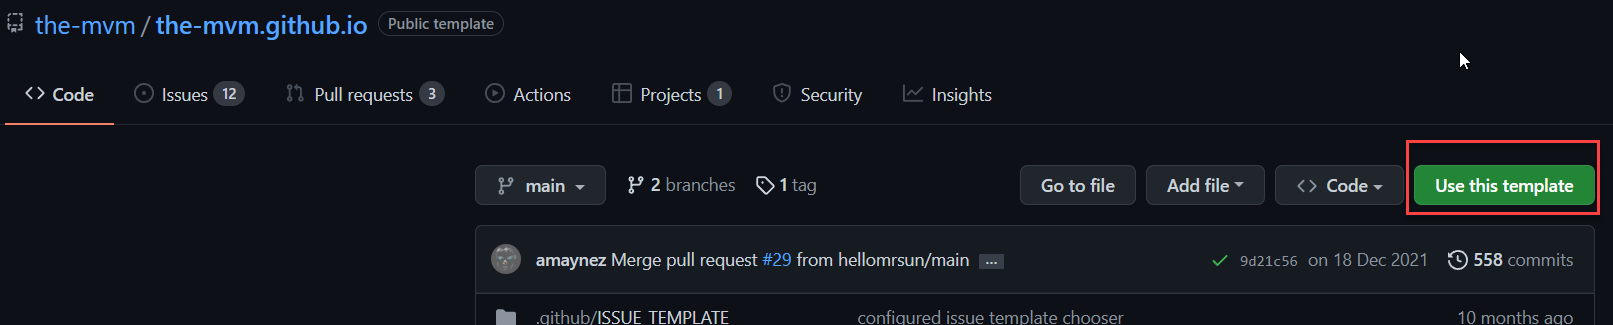 Using this method you simply click the “Use this Template” button and enter your new repositories name, which should be <username>.github.io (replacing <username> with your GitHub username).
And you are ready for the next step.
Using this method you simply click the “Use this Template” button and enter your new repositories name, which should be <username>.github.io (replacing <username> with your GitHub username).
And you are ready for the next step. -
Forking the Repository and then renaming it
 Another common method is to effectively “copy” the theme repository and make it your own, then rename the repository.
You simply click the “Fork” button in the upper right-hand corner of the screen, this will then begin the copy process. Once complete, select the “Settings” tab and rename the Repository to <username>.github.io (replacing <username> with your GitHub username)
Another common method is to effectively “copy” the theme repository and make it your own, then rename the repository.
You simply click the “Fork” button in the upper right-hand corner of the screen, this will then begin the copy process. Once complete, select the “Settings” tab and rename the Repository to <username>.github.io (replacing <username> with your GitHub username)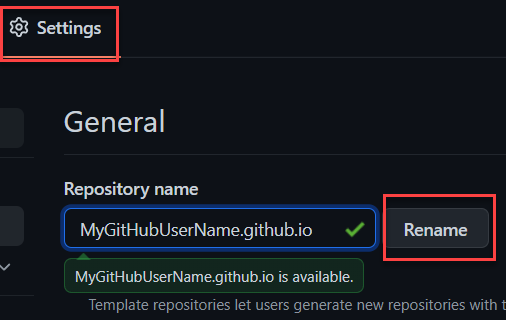
Now you have a Theme to configure.
Buyer beware, the “Installing through Gems” path
Some themes offer you a programmatic way to generate your site, or an option called “Remote Theming”. it is simply best to avoid this path for most users as it is quite advanced and does require you to build the site locally on your machine.
I will cover some of this in a future article on “Setting up Jekyll for GitHub pages locally”, for most users, however, you can just avoid this for now.
4. Configuring Your theme

The next step is to ensure your new repository is configured for GitHub pages. To begin, repeat the steps from the Previous Article and enable your github.io repository for GitHub pages.
Next, as we also did before, enter the Web Console for editing your site by tapping “.” or changing the web address from “.com” to “.dev”.
Once in the Web Console, you will find a file called “_config.yml”, which is where all the primary configuration and customization for your site is managed from:
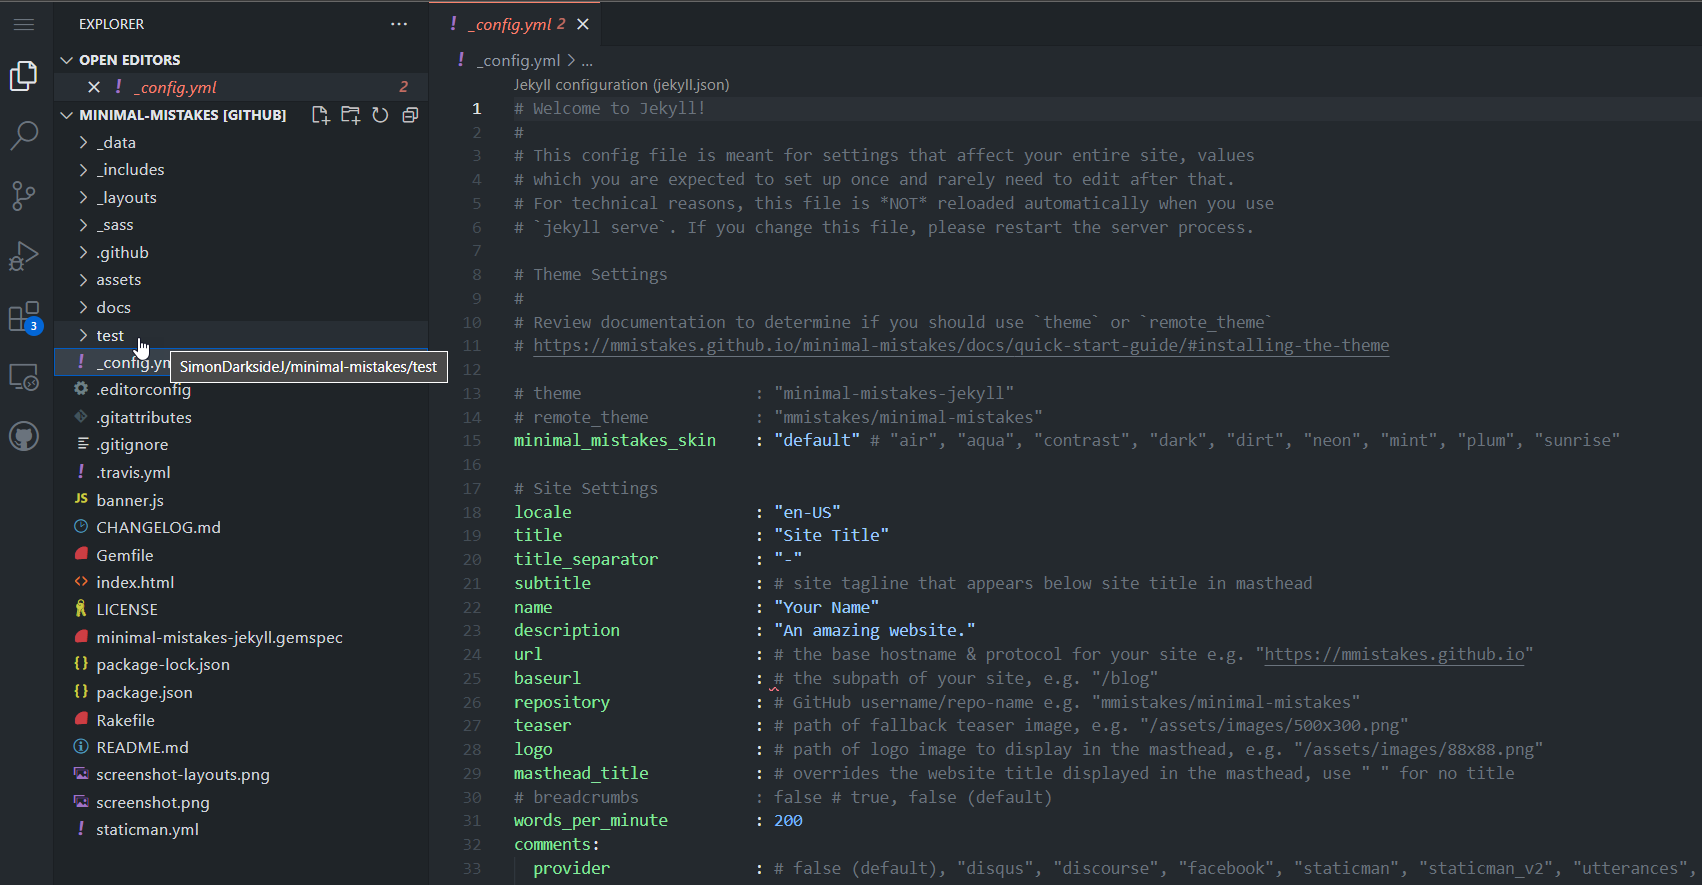
Now comments and instructions vary quite a lot, as each developer builds their theme differently, but the most common settings to watch out for are:
- title : The Title for your site (also usually sets the Browser window title)
- name : Your name, not the site name. E.g. the author of the site
- description : sometimes used as a subtitle or used in Author pages
- url : (Very Important) the Web URL to your site. Initially will be https://<username>.github.io but you can customize this to your own domain later (I will cover this in a separate article)
- baseurl : if you move the Jekyll site to a sub-folder or any location except root, you will need to put the folder name here, else leave it blank or set it to just “/” (very handy if you want to run multiple different sites from the same repository)
Read the docs and information that come with the theme for more information and guidance.
5. Branding your theme
Just as important as configuring your theme, is branding your site.
Most themes come with a default set of assets that highlight the brand of the theme itself, or the creators of the theme. I would recommend swapping these out for your own assets before launching your site. You do not need to do it straight away, but keep it in mind as a task you need/should do.
Where the default theme image assets are held will vary from theme to theme, the main places I would suggest looking are:
- “assets” folders
- Settings in configuration mentioning assets or images
- _layouts (although this is rare, as these are templates for how pages/posts look)
As an example, you can see the branding change between my site and the original theme for my site here:
| Dark Genesis Site | MVM Theme site |
|---|---|
 |
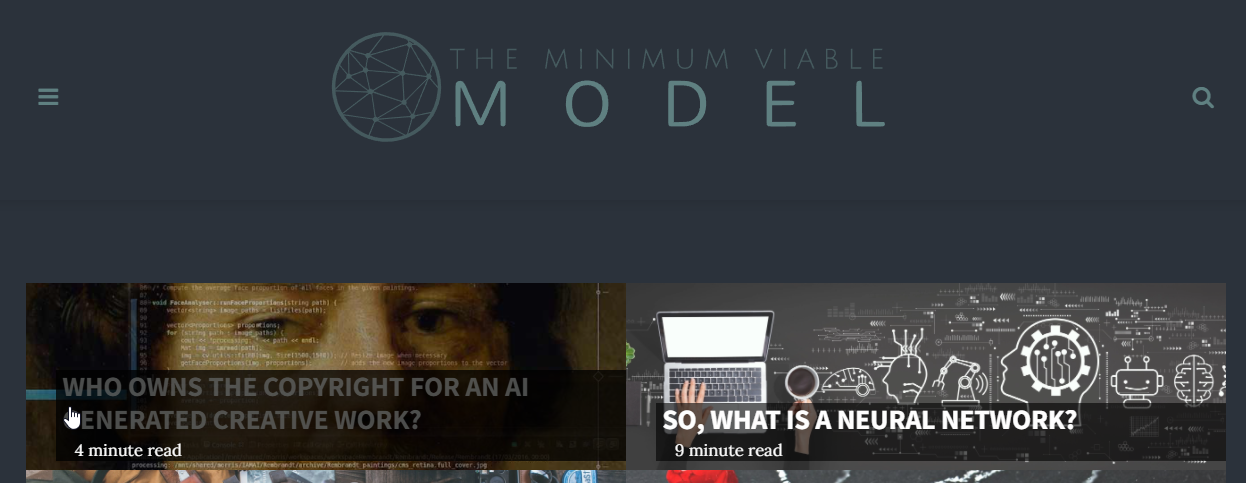 |
6. Clean up demo / default content
The final step is to clean up any / all demo content that comes with the theme. The site is your own to do with as you wish on your own repository, so do not worry about affecting the theme site you copied it from.
Check for any demo content in:
- _posts
- _pages
- test or demo
Should be fairly easy to find, and just be careful NOT to delete anything else.
If you do make a mistake and delete something that breaks your site, you will simply need to start again and delete your “copy”, then “clone/fork” the project again. Using the Web interface, there is no easy way back. If you are managing the site on your desktop, then it is a bit easier to correct mistakes but that would require a bit more setup (which I will cover in the “setting up locally” article)
So long and thanks for all the fish
I wish you fun on your journey to theme up your GitHub pages site. My best advice is to be adventurous, play with it and test out many themes until you find one that meets your expectations and is a good reflection of your brand or yourself. Be brave and venture forth, I look forward to reading what you put out there.
The Creation of articles once you have set-up your theme is exactly the same as the previous article, however, there may be options for additional “Front matter” to add to really make the theme shine, so keep an eye out.