Writing efficient markdown using GitHub Pages
Thanks to creating your pages in Part 1 and then theming it in Part 2, you already have a nice looking site, maybe with a little flair. Now it is time to start writing some content, whether that is a blog post or a regular page for your site, you want to make writing easy and if at all possible, avoid installing any tools.
Well, thankfully GitHub still has your back thanks to the awesome VSCode for the web editor built right into the GitHub website.
VS Code on the web
GitHub includes a web version of Microsoft’s VS Code that runs on the web, integrated tightly with GitHub, featuring:
- PR review
- Code editing
- Source Control (GitHub) integration
- Markdown writing and preview
- And much more (however the 4 above are the main uses)
This is accessible from the Code view below, or when you are reviewing a pull request (but more on that another time)
While in the code view you can either:
Tap “.” on the keyboard
or
Change the GitHub url from “.com” to “.dev” E.G. GitHub.com -> GitHub.dev
This will result in the Code editor view you see below:
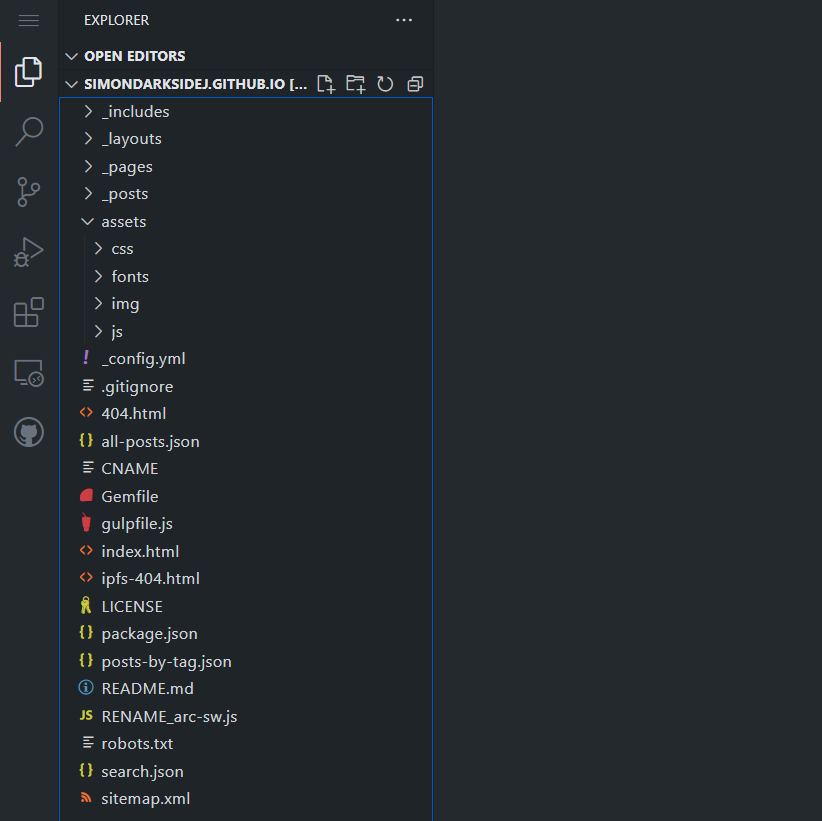
The Tabs on the left side are:
- Explorer - for viewing the files in your repository
- Search - to search for specific files and/or code
- Source Control - for comiting changes to your repository
- Run and Debug - for testing / executing web apps (not relevant for writing)
- Extensions - for extending your VS Code experience, the same as on the desktop
- Remote Explorer - for running a Microsoft Codespaces environment from VS Code - a bit too advanced for writing articles
- GitHub tab - the status of your repo, issues and more.
The only tabs you should be interested in for Writing are the “Explorer” (for writing) and “Source Control” (for submitting changes to your pages site) tabs, so we will focus on those for this article.
Getting Writing
Now there are several ways to explore your workflow for writing, you can go full GIT, create branches for each article, then once your article is complete simply merge that work back into your GitHub pages branch. Thankfully there is an alternative and even easier way.
To keep things simple, Jekyll has a “Drafts” mode, where you can publish content to your site but it will not be visible to the public, very useful while you are in the process of writing.
Simply:
- Enter the VS Code view of your GitHub site.
- Select the “Explorer” view.
- Make sure nothing is selected in the left-hand pane (or click in any clear space on the bottom).
- Click on the “New Folder” icon to the right of your Repository name (as shown below).
- Name the new folder “_drafts”.
- Make coffee (or tea if you prefer).
![]()
Your repository is now ready for creating your next article.
Create your draft post
Now unlike creating a published post (as you might not know when you want to publish it), drafts do not need a date in their name, so you can call it whatever you like. Keeping just a few things in mind:
- Keep the title all lower case
- Use a “-“ character where you want a space.
- Use the extension “.md” or “.markdown” when naming your file (the last characters you will name the file)
For instance, I titled this article while in draft:
_drafts\writing-efficient-markdown-on-githubpages.md
To create your article, simply select the “_drafts” folder you just created and then click the “New File” icon, which is located to the left of the “New Folder” icon you just used.
This will create your new draft ready for writing.
Always start with your Front Matter
As discussed in previous posts, your Front Matter describes your article in your GitHub pages site, so it is best to add this first. It gives you a way to characterise your article ready for writing.
For example:
---
layout: post
title: Blogging Like a Hacker
date: 2022-03-07 22:20:00
category: my category
---
Now, depending on the theme you have implemented for your site, you may need additional elements added to your Front Matter, so refer to your theme documentation for any additional information. For example, the Front Matter for my blog is as follows (which is also the Front Matter for this article):
---
layout: post
title: Writing efficient markdown using GitHub Pages
date: 2022-03-18 13:25 +0000
description: A guide to writing the best markdown you can get on your GitHub Pages site, using tricks and tools to help
img: posts/20220318/1200px-Markdown-mark.svg.png
category: GitHub pages
tags:
- jekyll
author: Simon Jackson
github:
mathjax: false
---
Please check with your Theme documentation for more details
Header images
Now a crucial feature for most articles is the Article header image, this makes your articles stand out and really shine. It is completely up to you (and the theme you selected) as to whether you want to use header images or simply want to go with text links, but my preference is to use them.
Now VS Code on the web also allows you to drag and drop images from your local computer right into the browser.
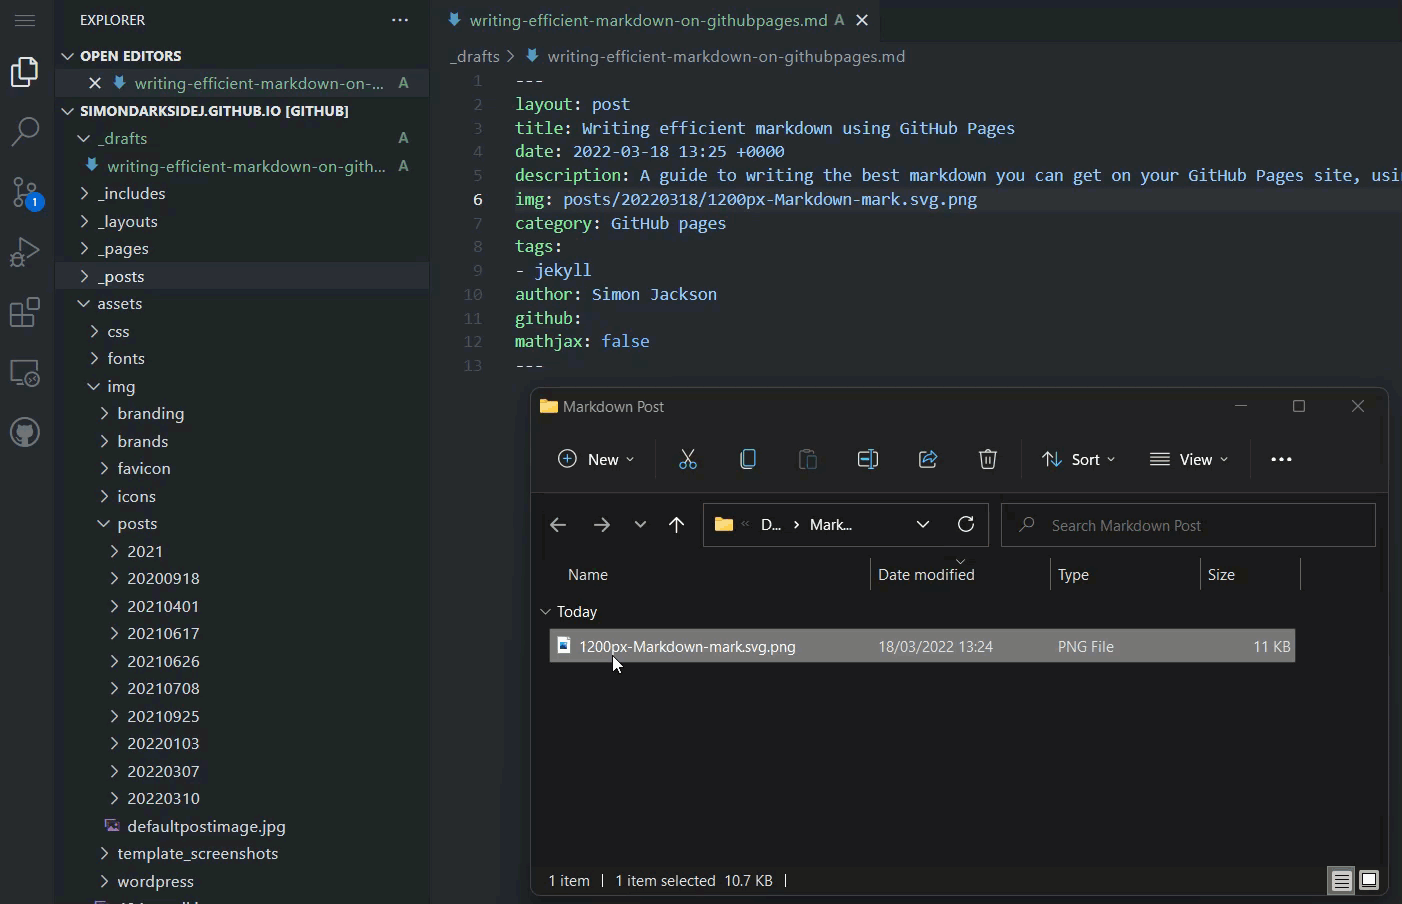
The only thing to be aware of is where you put them, as each theme is different. For my blog, images are placed in the following folder structure:
/Assets/img/posts/<date>
Just create a folder for the images and drag and drop to your hearts content.
WHen you are ready, update the Front Matter of your article with the path to your image, as shown in my example Front Matter above.
Always check your theme documentation for how to use Header images for your posts.
Using Links and Images in your article
When you need images in your article, you can either:
- Upload images to your blog (as above)
- Just use the full URL to the image online
If you are using Images on your blog site, just add them as you did for the header image and then add a special link to the image in Markdown depending on the source.
Images from your site
To the image reference to your post, simply use the markup (VSCOde for GitHub also features a file browser, which autofills your selection based on what is on your site)
”
”
For example, the above image path (for me) was (as demonstrated below)

And VSCode also makes it super easy by showing the path as you type:

*Note at the time of writing, if you drag and drop images in to the Web editor and then use the above technique to reference your image “before you commit your files to the repository” (showing in green in the editor) it will FORGET the first character of the file name. So instead of:
“adding-image-links.gif”
It will be:
“dding-image-links.gif”.
Simply check the link is correct before publishing.
Always check the preview using the “Open Preview to the Side” button in the upper-right-hand corner of the screen to check that your images show.
You should note that the path is only “relative” to where your articles are and you DO NOT need to put the full URL to the content. GitHub will compile and fix the links when it publishes your page to the web.
Images from the web
If you have an image that is hosted online already (sometimes the preferred approach), you simply need the full URL to that image (if you can view it in your browser, it will work on your site).
Then like the markdown for your site image, use the following syntax:
”
”
For example:
This markdown:

Would show the below image:

Linking to other posts
After mastering images, linking to previous posts on your site works in pretty much the same way, except you do not need the leading “!” character, simply use:
[<Readable Text>](<Local Link to post>)
For example, the link to the previous chapter would be:
[previous chapter](/Applying-a-theme-to-your-GitHub-pages-site)
Where you can see the text I used in the example. Nice and simple.
Linking to a header in a post
But we can go further, if you also want to link to a specific section in your article, you can add a quick-link to jump straight to it by referring to the header name.
For Example, if you want to jump to the “Where to get these mysterious themes” section of the Previous Post, you would simply append the name of the section to the end of the URL.

Just be sure to:
- Keep the header name in lower case
- use “-“ characters instead of spaces
But as you see VSCode on the web automatically shows you the headers you can select.
See the Markdown helper for more tips and tricks
A handy resource exists to make the most out of Markdown and writing, which can be found here:
It contains most of what you will need to “get good” at writing markdown for your posts, which is then automatically converted into HTML when GitHub is finished generating it.
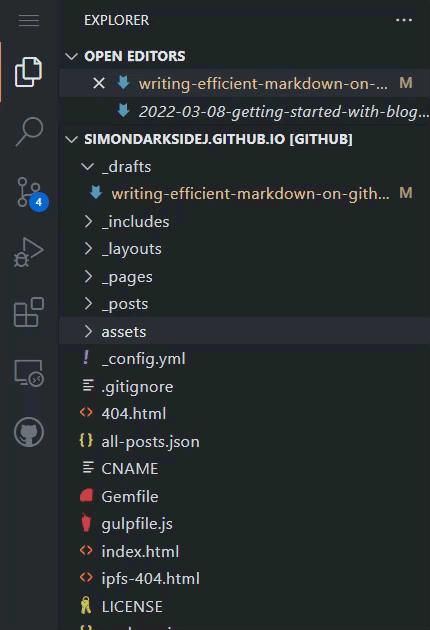
Commit your changes
While you are in draft, you can save your changes to the server at any time (be aware you can also make changes to LIVE pages the same way, just be careful).
To publish changes you need to COMMIT them to your repository, which is also very easy to do. Simply click on the “Source Control” tab on the left-hand side of the window to switch to the “Commit” view. Next, enter a message to remind you what you have changed, then select the files you want to save and finally, click the TICK button to save/commit:
Just make sure to be careful as to what you add and what you save, as undoing what you have uploaded can be tricky. But GitHub remembers what you changed and you can view that in your repository change history at any time.
Selectively “adding” files to the Commit before hitting the Tick button allows you to choose which files to push to the server. ALternatively, if you just hit the Tick button without adding files, it will commit ALL changes to the server at once.
Advanced syntax
Jekyll does also include ADVANCED techniques for enhancing your posts, however, these are a little much for this article.
To learn more about Jekyll Liquid Syntax, have a look through the documentation on the subject. Although fair warning, it is not for the faint hearted.
But it can become very useful as you get used to writing on your GitHub pages site. I only mention it now so you have something to refer to later.
Publishing
You have finished writing your article and you are ready to make it LIVE and show it to the world!
First, go and make another drink, double-check your spelling and even run it through a grammar checker or two (my own proofing pipeline includes about 4 apps).
When you are ready “and sure”, all you need to do is:
- Drag and Drop your article from your “_drafts” folder and place it into your “_posts” folder
- Then Rename (right-click -> rename) your file, prefixing it with the date as you did previously.
Yes, you can do this the other way round too, it is up to you whether you move and rename or rename and move.
For example:
2022-03-18-writing-efficient-markdown-on-githubpages.md
(This article)
Check the Front Matter inside your article matches the publish date you want on the article, and you are done.
Then repeat the steps from the “Commit your changes” section to save the published document.
This will also delete the old draft, including the “_drafts” folder if there is nothing left in it. But worry not, GitHub remembers! so you will not lose anything.
Conclusion
This article you are reading was written using all the techniques described in this article, which includes all the gifs which were recorded while writing this article. No PC (other than my browser) was used in its creation.
If you want super scary. I even wrote some of this article ON MY PHONE, as VSCode on the web is even FULLY supported on mobile, that includes commiting the changes!
I leave you now to get on with writing your own content while I get on with the next article which is a little more advanced and WILL involve getting your PC dirty.